


How to Seal Wall Vents
Seal Those Draughty Relics and Take Back Control of Your Comfort
Wall vents are sneaky little things. They sit there looking vaguely decorative, while quietly letting your warm air escape in winter and hot air sneak in during summer. Charming? Maybe. Helpful? Not really.
If your home has old internal wall vents that are no longer needed, sealing them can be a simple DIY project that helps your home feel warmer in winter, cooler in summer and easier to control.
Introducing the How to Seal Wall Vents DIY project - a neat, practical way to seal fixed internal wall vents without ripping them out, plastering over them or pretending that “heritage air leakage” is a feature. Ready to stop your wall vents freeloading? Let’s get into it.
Why Sealing Wall Vents Matters
Energy Efficiency:
Internal wall vents can act like little escape hatches for your heated and cooled air. Sealing unused vents helps keep conditioned air inside, where it belongs.
Improved Comfort:
Cold air drifting through old vents can make a room feel harder to heat and harder to live in. Sealing them helps reduce unwanted draughts and makes the room feel more stable.
Cost Savings:
If your heating or cooling is constantly replacing air that is leaking out, you are paying for comfort your house is not keeping. Sealing unnecessary draught paths helps reduce waste.
Dust, Smoke and Smells:
Wall vents can let in more than air. Dust, insects, pollens, outdoor smells and bushfire smoke can also sneak through. Sealing unused internal vents helps keep that nonsense out.
Getting Off Gas: Seal the Vents, Keep the Comfort
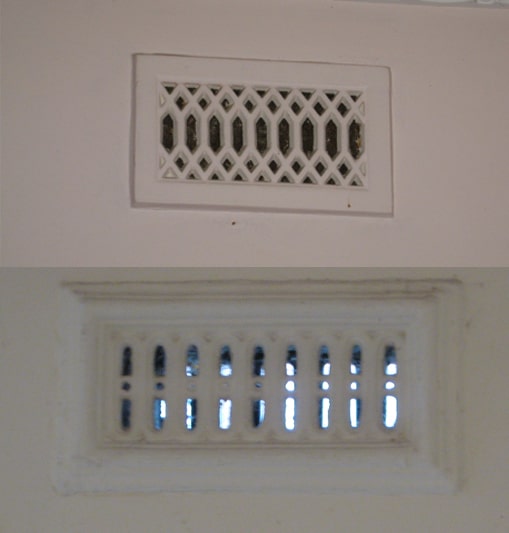
Older homes often had wall vents because they used open fires, gas heaters or appliances that needed a lot of ventilation because the created carbon monoxide and water vapour as side products of generating heat.
But if you are getting off gas, improving insulation, draught proofing properly and moving to efficient electric heating and cooling, those old internal wall vents may no longer be helping.
Sealing unused internal wall vents helps you control ventilation, instead of letting your house decide when the outside air should come in.
First: A Very Important Safety Note
Only seal wall vents when it is safe to do so.
Do not seal wall vents in rooms with open-flame, open-flue or unflued gas appliances unless you have professional advice.
Those appliances may need permanent ventilation. Carbon monoxide is invisible, odourless and dangerous. It is not something to muck around with.
Also: this DIY project is for internal wall vents.
Do not seal external wall vents, wall cavity vents, subfloor vents, weep holes or anything outside the home that exists to ventilate the building structure.
If you are not sure what the vent does, do not seal it until you know.
The How to Seal a Wall Vents Process
If you are a “Watcher” - here is the installation video:
If you are a “Reader” - here are the installation instructions
(but really, seriously, it's much better if you watch the videos).
Assess Your Wall Vents
Walk through your home and identify the internal wall vents you want to seal.
Check:
- Is the vent inside the room?
- Is it decorative, metal, plaster or timber?
- Is it fixed in place?
- Is there an open-flame or gas appliance in the room?
- Can you feel air movement through or around the vent?
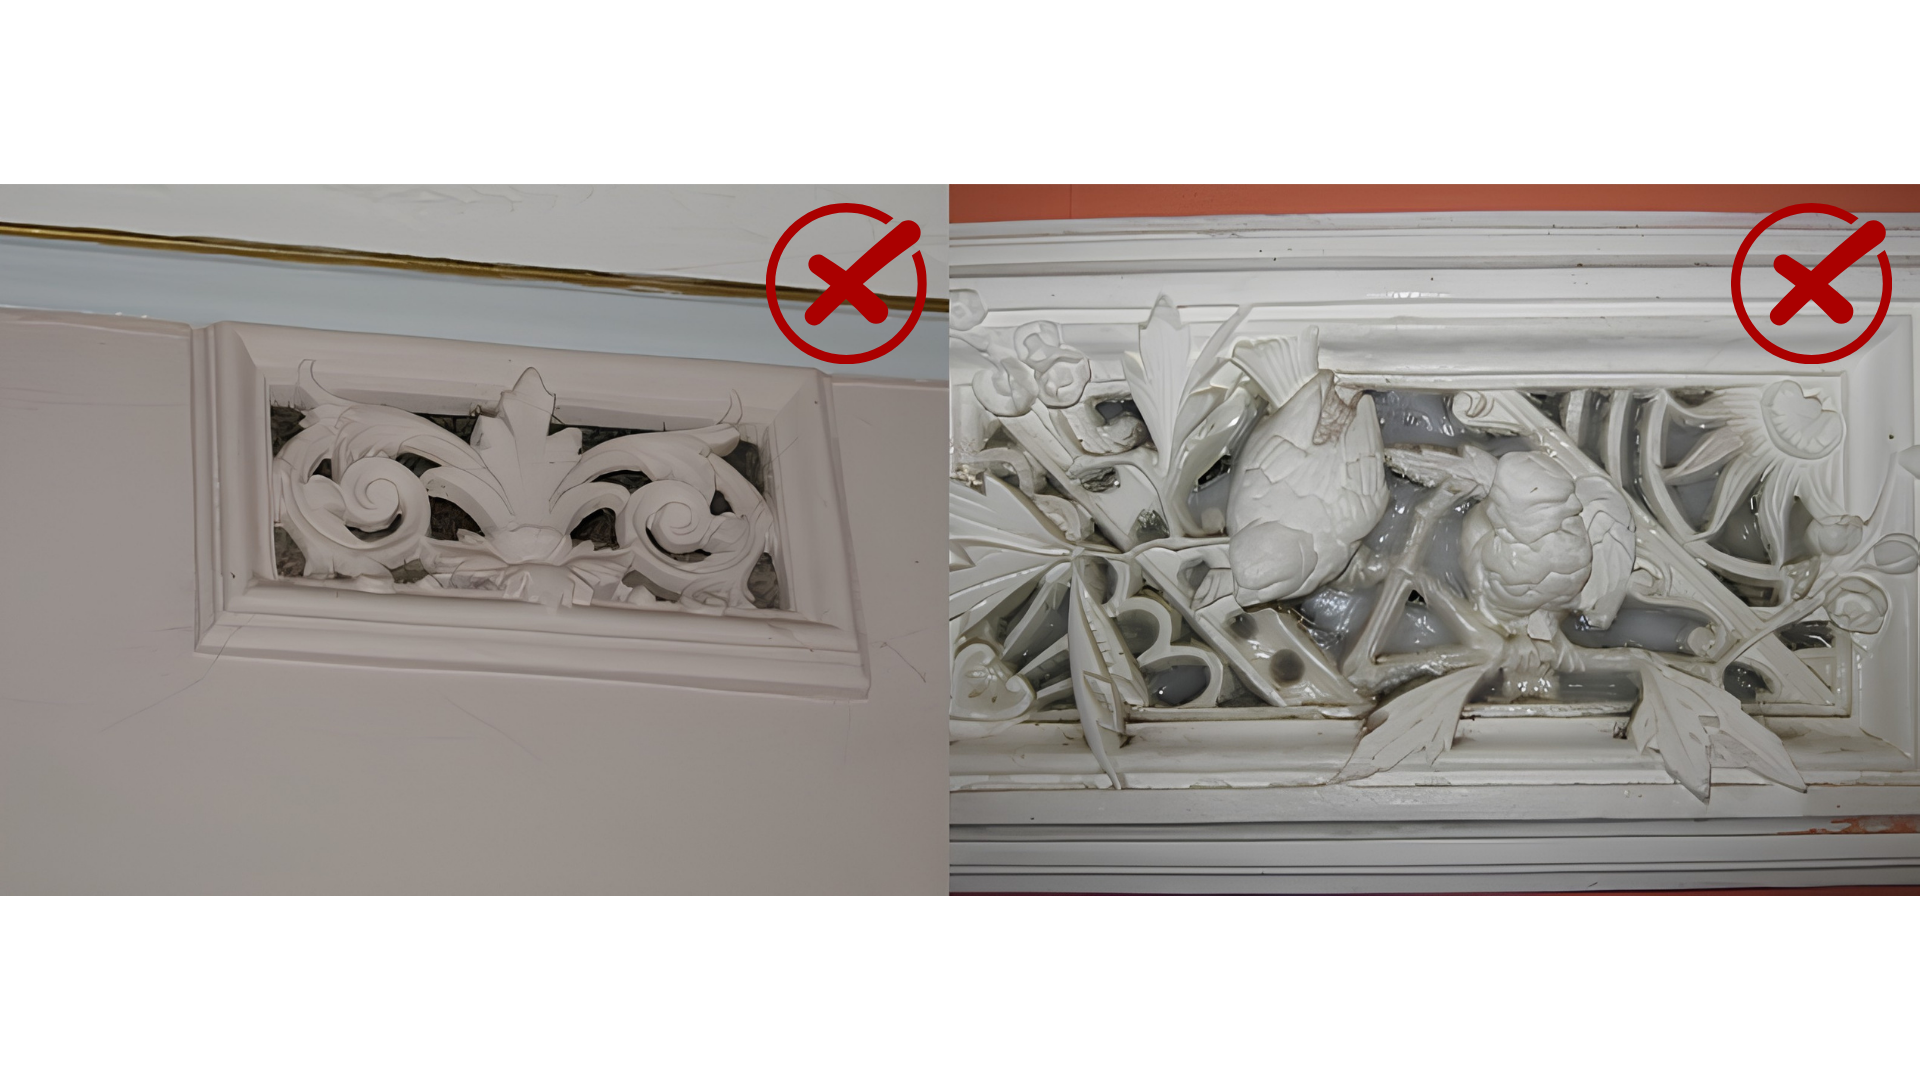
- Is the vent small, large, or one of those dramatic old Victorian / Edwardian vents that simply must be left for heritage reasons?
If there is gas or an open fireplace involved, stop and get advice before sealing.
If it is an external vent, leave it alone.
Clean the Vent Properly
Before sealing, clean the vent and the surrounding wall.
Use a vacuum, brush, cloth and mild cleaner to remove dust, loose paint, cobwebs, grease and general old-house fluff. Sealant sticks much better to a clean surface. Yes, this is annoying, but it does matter - a lot. Ultraclear dries clear - so if dirt or grim in included in the sealing, it will show us as a grubby yellow seal. {It can be removed if you have done that - use a scapel and a ton of patience}.
Seal the Wall Vent
Use UltraClear to seal the vent openings and any gaps around the edge of the grille.
UltraClear applies white and dries clear, which makes it useful for decorative vents where you want to keep the look without keeping the draught.
For small vents, one careful application may be enough. For larger vents, seal the outer sections first, allow the sealant to set, then apply more to the inner sections as needed.
Do not try to fill a large decorative vent in one heroic squeeze. That is how people end up with sealant on the wall, the floor, the vent, their sleeve, and somehow the dog.
Larger Wall Vents
Some older homes have large wall vents with deeper openings or decorative patterns.
These may take more time.
Work in stages:
- Clean the vent thoroughly
- Seal the outer gaps first
- Let the sealant set
- Build up the remaining gaps gradually
- Smooth and wipe as you go
The aim is to seal the air movement while keeping the vent looking neat. Not perfect. Neat.
There is a difference, and it is good for everyone’s blood pressure.
Post-Sealing Check
Once the sealant has dried, check the vent again. Use the back of your hand, an incense stick or a tea light to test for air movement. If you can still feel air sneaking through, apply more sealant where needed. That’s it. You have sealed one more unnecessary hole in your home. Very satisfying. Repeat for the rest of your vents.
What happens if you don't clean your vents first?
IMPORTANT
- Only seal internal wall vents that are no longer needed.
- Do not seal external vents.
- Do not seal vents in rooms with open-flame, open-flue or unflued gas appliances unless you have professional advice.
- Do not seal anything if you do not know what it does.
- This is draught proofing, keep it safe. Let’s keep YOU safe.
AND ONE MORE IMPORTANT THING!
Sealing old wall vents does not mean sealing the room forever. Before sealing, those vents were giving you uncontrolled ventilation — 24/7, whether you wanted it or not.
Once the draught is sealed, you still need to ventilate the room. You just get to choose when. Open windows regularly to change the air, especially after cooking, showering, cleaning or drying clothes inside. The goal is not a sealed room. The goal is to stop your house ventilating itself badly through random holes in the wall.
Find the Right Products
You’ve made it this far — now it’s time to take action. Given our 20+ years of draught proofing experience, we are used EVERY SINGLE SEALANT on the market. Every.one.
Silicone, cheap sealant, REALLY expensive sealant, acrylic gap fillers, filler rod and flexible water-based sealants.
Silicone has its uses, but it is not our favourite for draught proofing. It can be messy, smelly, hard to clean up and unforgiving in old homes that move, shift and generally refuse to behave.
That is why we use UltraClear for draughty gaps around skirting boards, architraves, floorboards, wall vents, heating ducts and trim. It is water-based, flexible, low odour and easy to clean up while wet. It applies white so you can see what you are doing, then dries clear for a neat finish.
For larger gaps, (generally NOT wall vents) we have a Gap Filler Kit.
In short: UltraClear is cleaner, easier and more forgiving than silicone - which is exactly what you want when your house has “character” and you are low on time and patience. Sealing fixed internal wall vents is usually a simple DIY job with the right product.
✅ Shop UltraClear Invisible Sealant
✅ Need to find other draughts? Try Find and Fix My Draughts

Common Questions and Troubleshooting
How long does it take to seal a wall vent?
A small wall vent may take around 10 - 30 minutes, plus drying time. More than half of that time is CLEANING THE VENT. Larger decorative vents may take longer because they are fussy little show-offs and may need more than one application.
Can I seal external wall vents?
No. External wall vents often ventilate the wall cavity or subfloor. Blocking them can cause moisture and building problems. This DIY project is for internal wall vents only.
Can I seal wall vents if I still have gas heating?
Short answer … no. If the room has an open-flame, open-flue or unflued gas appliance, do not seal the vents without professional advice. Ventilation is required for safety.
Do I need to remove the vent grille?
Usually, no. This method is designed to seal fixed wall vents while leaving the grille in place. That keeps the job simpler and helps preserve the look of decorative vents.
Do I need to remove the vent grille?
Usually, no. This method is designed to seal fixed wall vents while leaving the grille in place. That keeps the job simpler and helps preserve the look of decorative vents.
Can I just tape over the vent?
You can, in the same way you can fix many things badly with tape. It might help briefly, but it is not a neat, durable or an especially dignified solution.
What if the vent is really large?
Seal it in stages. Fill the outer sections first, let the sealant set, then build up the remaining gaps gradually. Large vents take patience. Patience is not sold separately.
Will the sealant dry clear?
UltraClear applies white and dries clear, which helps maintain the appearance of the vent. If it will dry clear without yellowing because YOU CLEANED IT THOROUGHLY FIRST. Always follow the product instructions for application, drying and cleanup.
Do wall vents need to be sealed under Victoria’s Minimum Rental Standards?
In many cases, yes - as long as it is safe to do so. From 1 July 2027, Victorian rental providers must draught proof external doors, external windows and unsealed wall vents at the start of a new rental agreement, or when an existing rental agreement becomes month-to-month.
That means old unsealed wall vents are no longer just “quirky old-house character”. They may need to be properly sealed as part of the Minimum Rental Standards.
But safety comes first. If the property has gas appliances, a licensed plumber must complete a gas safety check before draught proofing work is done. If there are unflued or open-flued gas appliances, draught proofing must not go ahead because sealing the home could create health and safety risks.
If you are a renter, do not seal wall vents without speaking with your rental provider or property manager first.
If you are a rental provider, this is a good time to check which vents are safe to seal, which must remain open, and what work may be needed before the standard applies.
In some homes, rental providers may choose to supply the draught proofing products and have the renter install them, depending on the relationship and what has been agreed. In other homes, the rental provider may arrange the work directly.
Either way, the important bit is this: seal the useless draughts, not the ventilation that is there for safety.
Now What?
If your internal wall vents are no longer needed, sealing them is a small DIY project that can make a real comfort difference. Congratulations!
Draught proofing is not about doing one huge heroic thing. It is about finding the little comfort thieves and shutting them down one by one.
So, onto the next thing to help draught proof your home!
Related Resources
Link to Related Articles:
- Draught Proofing Information Hub
- What is Draught Proofing?
- Find and Fix My Draughts
- My Home Is Too Cold
- My Home Is Too Hot
- How to seal heating vents after getting off gas
- Exhaust fan draught proofing
- Gap sealing around skirting boards and trim
How-to Videos:
- Watch: How to Seal Wall Vents