


DIY Project – Sealing Gaps, Cracks and Unwanted Vents
Some draughts are obvious. They whistle under doors, move the curtains and make themselves thoroughly unpopular. Others are much smaller.
They enter through gaps between floorboards, around skirting boards, beside architraves, around pipes, through old wall vents and anywhere else that one building surface meets another.
Each gap may look insignificant. Add them together, however, and they can allow a surprising amount of uncontrolled air to move through your home.
Fortunately, many of these gaps are inexpensive and reasonably easy to seal yourself. You do not need to tackle the whole house in one weekend. Start with the room you use most, seal the gaps you find there, then move on to the next room when you are ready.
What You Are About to Do
You are going to:
- find the gaps and cracks leaking air
- work out which openings should be sealed - and which must remain operational
- choose the right product for each gap
- seal the gaps neatly
- repeat the process room by room
For most small gaps, the job requires little more than the right sealant, a caulking gun and a damp cloth.
The important part is recognising that not every hole in your home should be treated in the same way.
Before You Start: Not Every Opening Should Be Blocked
A crack beside a skirting board is not the same as an exhaust fan. A decommissioned heating outlet is not the same as one that is still being used. A decorative wall vent may be unnecessary - or it may provide ventilation required for a gas appliance.
Before sealing anything, identify what it is and why it is there.
Usually suitable for sealing
Depending on the construction of your home, these may include:
- gaps between skirting boards and floors
- gaps around architraves and window trim
- gaps between timber floorboards
- small openings around pipe penetrations
- gaps around heating outlets that are still operating
- unused wall vents that are no longer required
- cracks where fixed building surfaces meet
These need a different solution
- working exhaust fans
- operational heating and cooling outlets
- abandoned ducted-heating outlets
- evaporative cooling vents
- chimneys
- large construction openings
- ventilation required for gas-appliance safety
Do not seal permanent ventilation or draught-proof a home containing an open-flued or flueless gas heater without first having the situation checked by a licensed gasfitter. Draught proofing can alter airflow and increase the risk of combustion gases, including carbon monoxide entering the home.
The Right Product for Small Gaps: UltraClear
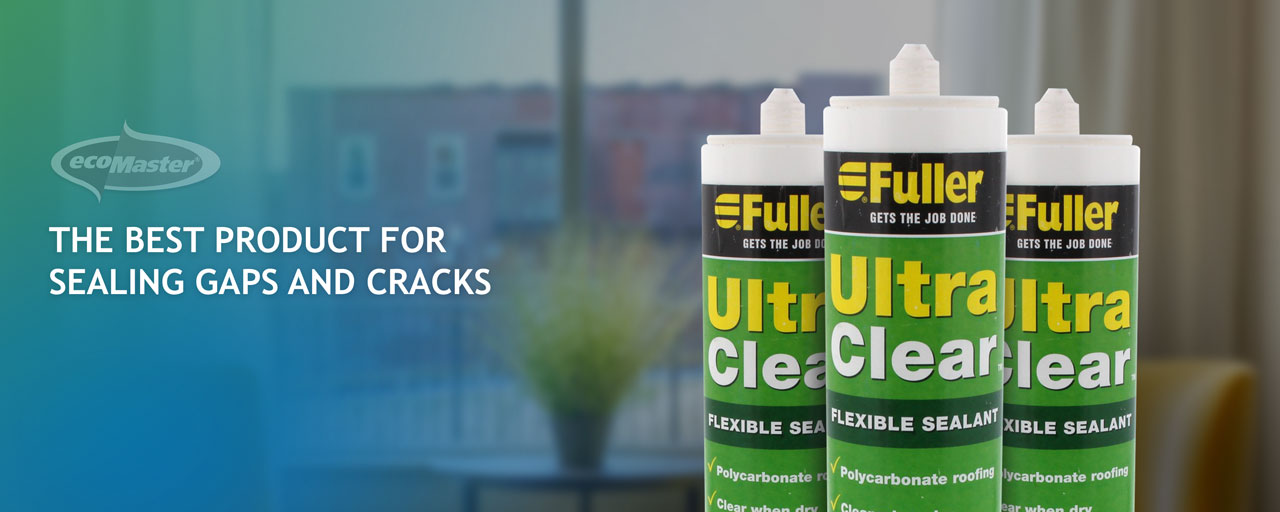
For the small gaps found around floors, trims and vents, ecoMaster recommends FulaSeal 701 UltraClear.
We used UltraClear during many years of professional draught-proofing work because it is well suited to older Australian homes.
It:
- applies white, so you can see where it has been applied
- dries clear, so you do not have to colour-match between 2 surfaces
- remains flexible as the building moves
- is water-based
- cleans up with water while still wet
- is paintable
- is low odour
- can be used inside or outside
- is much more forgiving for DIY work than silicone
UltraClear is particularly useful around:
- skirting boards
- architraves
- floorboards
- wall vents
- floor heating vents
- other small gaps, generally where one surface meets another
If you can feel the draught but can barely see the gap, UltraClear is often the right place to start.
The Right Product for Small Gaps: UltraClear
For the small gaps found around floors, trims and vents, ecoMaster recommends FulaSeal 701 UltraClear.
We used UltraClear during many years of professional draught-proofing work because it is well suited to older Australian homes.
It:
- applies white, so you can see where it has been applied
- dries clear, so you do not have to colour-match between 2 surfaces
- remains flexible as the building moves
- is water-based
- cleans up with water while still wet
- is paintable
- is low odour
- can be used inside or outside
- is much more forgiving for DIY work than silicone
UltraClear is particularly useful around:
- skirting boards
- architraves
- floorboards
- wall vents
- floor heating vents
- other small gaps, generally where one surface meets another
If you can feel the draught but can barely see the gap, UltraClear is often the right place to start.
Why not ordinary silicone?
Silicone is excellent for jobs that require silicone. Sealing the dry gaps around skirting boards, floorboards and timber trim is not usually one of them.
Silicone can be difficult to apply neatly, is harder to clean up and cannot generally be painted. Once it is on a visible timber floor or painted skirting board, it tends to remain very visibly on that timber floor or painted skirting board.
UltraClear is easier to control. Any excess can be cleaned away with a damp cloth before it dries, and the remaining seal becomes clear.
Why Silicone Is Usually the Wrong Product for Draught-Proofing Gaps
What If the Gap Is Too Large for Sealant?
UltraClear is intended for small gaps. For a wider or deeper opening, do not attempt to fill the entire space with an enormous quantity of sealant. It wastes product, creates a messy finish and may not seal the gap properly.
Use filler rod first. Filler rod is pushed into the opening to fill most of the empty space. UltraClear is then applied over the surface to create the finished seal. For very wide gaps, two lengths of filler rod can be twisted together before being pressed into place.
The ecoMaster Gap Filler Kit combines:
- UltraClear
- filler rod
- silicone spreaders
This gives you the products needed for both ordinary cracks and the larger gaps that appear in older or particularly enthusiastic houses.
Watch Before You Caulk
Caulking is not difficult, but a few minutes spent watching the correct technique will save a great deal of wiping, muttering and trying to make a bad bead look deliberate.
Rather than relying on one general video, choose the video that matches the gap you are sealing.
Gaps In and Around Floors
Floorboard gaps
Timber floors move as people walk over them and as temperature and moisture levels change. This is why rigid timber putty often cracks and falls out.
A flexible sealant can move with the floor instead.
Skirting-board gaps
Look closely at the point where the skirting board meets the floor. Even a narrow continuous gap can leak air around much of the room.
This is one of the simplest places to learn how to use a caulking gun.
Gaps Around Doors, Windows and Trim
Architraves
Air can leak through the joins between the architrave, wall, window frame or door frame.
These gaps are often narrow and uneven, making a flexible clear sealant particularly useful.
Kitchen Gaps You Probably Have Not Noticed
Kitchens contain cupboards, pipes, appliances and service penetrations. Many lead into wall cavities, underfloor areas or the space behind the cabinetry.
Dishwasher recesses
Pulling out the dishwasher may reveal large openings around pipes and services, along with a surprisingly clear view of places the kitchen was not intended to show you.
Watch: Who Knew Your Dishwasher Was Soaking Your Dishes—and Your Energy Costs?
Pipe penetrations
Where pipes pass through floors, cupboards or walls, the opening is often much larger than the pipe.
Small gaps may be sealed directly. Larger openings generally require filler rod or another suitable backing material before the finished seal is applied.
Watch: How to Seal Pipe Penetration
Wall Vents
Older homes frequently have wall vents that allow outdoor air to move directly into the room.
Some are no longer required. Others may be essential for the safe operation of a gas appliance.
Do not assume.
Where a licensed gasfitter has confirmed that the vent is unnecessary, the openings and perimeter can be sealed using the method shown in the video.
Wall Vents
Older homes frequently have wall vents that allow outdoor air to move directly into the room.
Some are no longer required. Others may be essential for the safe operation of a gas appliance.
Do not assume.
Where a licensed gasfitter has confirmed that the vent is unnecessary, the openings and perimeter can be sealed using the method shown in the video.
Where the vent must remain open, do not seal it. Permanent ventilation associated with an unflued or open-flued gas heater must remain clear unless a licensed gasfitter has approved a different arrangement.
Floor Heating Outlets
Before doing anything to a floor outlet, determine whether the heating system is still in use.
Heating outlets that are still operating
Do not block the vent. You can, however, seal the crack between the outside edge of the vent fitting and the surrounding floor. This stops air leaking around the outlet without interfering with the heating system.
Watch: How to Seal Around Floor Heating Outlets That Are Still in Use
Heating outlets that are no longer used
If the old ducted-heating system has been fully decommissioned, the entire outlet may be allowing air to enter from beneath the floor.
The Goodbye Heating Vents Kit is designed to cover and seal these abandoned outlets properly.
Do not use it on an outlet connected to a system that is still operating.
Old return-air outlets
A decommissioned return-air outlet is often much larger than an ordinary floor vent and needs a purpose-made cover rather than several tubes of optimistic caulk.
Watch: Sealing a Return-Air Duct with Goodbye Heating Vents
Exhaust Fans
An exhaust fan is supposed to remove moisture and stale air while it is operating. The problem is that many ordinary ceiling fans remain open when switched off, allowing air to move through them all day and night.
Do not seal a working exhaust fan with gap filler.
Instead, install a backdraught-prevention device such as a DraftStoppa, which allows the fan to operate normally and closes when the fan is switched off.
[Button: See Exhaust-Fan Draught Solutions]
Wet Areas
Bathrooms and laundries need effective ventilation to control moisture.
The gaps around skirting boards, architraves and service penetrations can still be investigated, but areas exposed directly to water require products specifically suited to wet-area sealing.
UltraClear should not be treated as a replacement for waterproofing or sanitary-grade sealant around showers, baths and other continuously wet areas.
Watch: Sealing Gaps in Wet Areas
Cathedral Ceilings and High-Level Gaps
Cathedral ceilings often contain long joins where timber, lining boards, walls and ceilings meet. Even narrow cracks can create a substantial total length of air leakage.
These jobs may also involve working at height, so safe access matters as much as the sealant.
Watch: How to Seal Gaps in Cathedral Ceilings
Step-by-Step: How to Seal an Ordinary Gap
Step 1: Find the leak
Look and feel around:
- skirting boards
- architraves
- floorboards
- pipe penetrations
- window and door trim
- vents
- built-in cupboards
- heating outlets
Windy days are particularly useful. Look for moving curtains, listen for whistles and run your hand slowly around likely gaps.
Step 2: Identify what the opening does
Before sealing it, check whether it is:
- an ordinary building gap
- part of a working ventilation system
- connected to heating or cooling
- required for gas safety
- exposed to water
- too large for sealant alone
This step prevents a small DIY project from becoming a much larger and less entertaining project.
Step 3: Clean the surface
Remove dust, loose paint, old filler and debris.
The surfaces should be reasonably clean and dry before applying the sealant.
Vacuum floorboard gaps and wipe surrounding surfaces so that the sealant adheres to the building—not to six years of household dust.
Step 4: Prepare the tube
Load the UltraClear into the caulking gun.
Cut the nozzle to suit the width of the gap. Begin with a smaller opening. You can always make it larger; restoring a nozzle after cutting off too much remains beyond current ecoMaster technology.
Step 5: Fill larger gaps first
Where the gap is too wide or deep for UltraClear alone, push filler rod into the opening.
Leave enough depth at the surface for a smooth bead of sealant.
Step 6: Apply the sealant
Run a steady bead along the gap.
You do not need to flood the area. Apply enough to bridge and fill the opening.
Step 7: Smooth the finish
Use a silicone spreader to press and shape the bead.
Wipe away excess UltraClear immediately with a damp cloth. It is much easier to clean while wet than after it has dried.
Step 8: Let it dry
UltraClear applies white and gradually becomes clear as it dries.
Allow it to dry fully before painting, cleaning the area or placing rugs and furniture back against it. Follow the product directions for the conditions and application.
What You Will Need
For an ordinary gaps-and-cracks project:
- FulaSeal 701 UltraClear
- caulking gun
- damp cloth
- silicone spreader
- vacuum or brush
- utility knife or scissors
- filler rod for larger gaps
- suitable access equipment for high-level work
A good-quality dripless caulking gun makes it easier to control the flow of sealant and reduces the blob that otherwise appears each time you stop squeezing.
How Much UltraClear Will You Need?
The amount depends on the width and depth of the gaps, but the following can be used as a starting guide:
- floorboard gaps: approximately 20 lineal metres per tube
- skirting-board gaps: approximately 10–15 lineal metres per tube
- architraves: approximately 10–15 lineal metres per tube
- wall vents: approximately 4–8 vents per tube
- heating outlets: approximately 10–12 outlets per tube
These figures are guides only. Older homes have a remarkable ability to produce gaps of entirely different sizes in every room.
Common Questions:
Do I have to seal the whole house at once?
No.
Start with the room where you spend the most time or where the draughts are most noticeable. Seal that room properly, then move on when time and budget allow.
Does UltraClear really dry clear?
Yes. It applies white so that you can see and control the bead, then becomes clear as it dries.
It is clear rather than invisible. A large untidy mound will still look like a large untidy mound—just a clear one.
Can I use timber putty between floorboards?
Timber putty is rigid. Floorboards flex and move, so rigid filler can crack, loosen and eventually fall out.
A flexible sealant is better able to cope with normal movement.
Can I seal an old wall vent?
Only after confirming that it is not required for ventilation or gas-appliance safety.
Homes containing flueless or open-flued gas heaters need particular care. Have the ventilation requirements checked by a licensed gasfitter before sealing vents, chimneys, fans, doors or windows.
What if I cannot find the draught?
Not every air leak is easy to see.
The Find and Fix My Draughts course takes you through the common—and decidedly uncommon—places where homes leak air.
Start With One Room
You do not need to caulk every floorboard, dismantle the kitchen and investigate the cathedral ceiling before lunch.
Choose one room.
Check the skirting boards, architraves, floorboards, vents and service penetrations. Watch the relevant video, use the correct product and seal each gap properly.
Then sit in the room on the next windy day and feel what is no longer happening.
Recent Comments