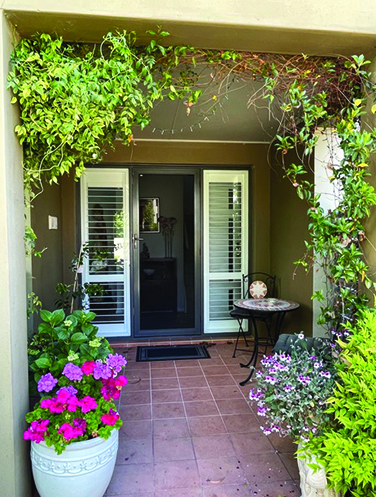
Door Seals
Guide to Draught Proofing Doors
The right seal depends on the door, the gap, and the bit that is leaking.
Doors are useful things. They let people in, they keep the worst of the weather out. But doors are also one of the most common places for draughts to sneak into a home. The problem is that not all door draughts are the same. A gap under a timber front door needs a completely different fix from the side of an aluminium sliding door. French doors have their own little circus and cavity sliding doors laugh in the thought of any kind of ‘standard’. (To be fair, so do timber sliding doors!) So before you buy a door seal, work out what kind of door you have, and which part of it is leaking.
ecoMaster is here for when you want 'proper draught proofing’. We generally do not recommend basic stick-on weather stripping that is commonly found in hardware stores. It sits in the gap between the door and the jamb, but those gaps are rarely consistent - and weather stripping only has one size so it works on a very small range of gap.
This means that weather stripping frequently doesn’t work very well. It often doesn’t properly fill the gap, or, if you add more, it over-fills the gap and you can’t shut the door. Over time the application of weather stripping in a door can actually warp the door, resulting in a banana shaped door that is even more difficult to draught seal.
ecoMaster is the right choice for when you want proper draught proofing, not a packet of basic stick-on weather stripping that ends in landfill.
So, once you are done with temporary draught proofing solutions that don’t work, we are here to help you choose the right solution for your doors ... and the rest of your home too!

Every door is different. So are its gaps.
Most quick fixes don't solve that.
Gaps are uneven, doors aren’t square, and nothing is “standard".
First: simple door anatomy
You do not need to become a door guru, but a few descriptive words do help.


Door bottom: The bottom edge of the door. This is where cold air, insects, dust and occasionally ambitious wildlife 🐀 try their luck, sometimes successfully! This area is usually fixed with a draught excluder, brush seal, sweep seal, automatic drop-down seal or door bottom seal.
Threshold or doorstep: The surface under the door when it closes. If the threshold is uneven, damaged or not flat enough, a door-bottom seal may not be able to close properly. In that case, you may need a treadplate to create a better sealing surface.
Door Sides and top: These are the vertical sides and the top edge around the door. They are sealed with perimeter seals. A door has four sides. The bottom is only one of them. If you only seal the bottom, the draughts around the sides and top will continue their little victory lap.
Door jamb: The frame around the door. Most door seals are fixed to the jamb, not the door itself.
Meeting stiles: The place where two doors meet each other, usually on French doors or double doors. This can be very draughty because two moving doors are trying to seal against each other, and doors are not famous for cooperating. Generally they are sealed with astragals.
The golden rule: seal all the right sides
A draughty door is rarely fixed by chucking something on the bottom and calling it done. A proper external door seal usually needs attention to: the bottom, the latch side, the hinge side, the top and the threshold (if it is uneven).
That does not mean every door needs every product. It means you need to look at the whole door, not just the obvious gap that is letting the wind whip through your hallway.
Single hinged external doors
This is the classic front door, back door or laundry door. One door with hinges on one side, a handle and latch on the other. Frequently draughty in practice. Check for dust trails around the edges - they are a good sign that air is leaking around your door.
Common draught spots
- under the door
- around the latch side
- around the hinge side
- across the top
- uneven threshold
- warped or twisted door
- variable gaps from top to bottom
Best starting point
If it is an external timber hinged door, start by checking all four sides. Do not assume the bottom is the only problem. A good front or back door seal usually needs a proper door -bottom solution plus perimeter seals around the sides and top.
Learn the fix
- How to measure your door gaps
- How to draught proof a single hinged door
- How to install Draught Dodger (side and top only)
- How to install a Draught Excluder (bottom only)
- How to manage when the doorstep is uneven or too low (treadplate)
- Your front door’s leaking air like a sieve - let’s fix that
- The Story of Draught Dodgers – A Tale of Ingenuity and Innovation
Shop the fix
Kits
Individual Components
If all this looks a bit too challenging you might need a step-by-step approach Find and Fix My Draughts

French doors and double doors
French doors are beautiful, but they are also overachievers in the draught department. You have the outside perimeter to deal with, plus the gap where the two doors meet as well as along the top and bottom of both doors. If one door moves slightly, the whole draught proofing plan can get cranky. That’s why you need professional support!
Common draught spots
- under both doors
- around the outside perimeter
- between the two doors
- where the inactive door closes
- uneven thresholds
- movement between the doors
Best starting point
French doors need a dedicated approach - do not treat them like two single doors and hope for the best. We know that does not work.
Learn the fix
- How to draught proof French Doors with a DIY kit
- How to draught proof a French Door - A Complete Guide
Shop the fix
Kit
Individual Components
- Draught Dodger Perimeter Seals
- Astragal - Centre Seal - RP16
- EMV Slim Line - Centre Seal
- Bottom Seal - RP5 (butt kit)
- Treadplates
If all this looks a bit too challenging you might need a step-by-step approach Find and Fix My Draughts
Aluminium sliding doors
Aluminium sliding doors usually leak in different places from their cousin, the sliding timber doors. They slide and overlap and often have worn brush seals. The trailing edge can vary wildly from one door system to another. There is (unfortunately) no standard for aluminium sliding doors in Australia.
Common draught spots
- bottom of the sliding panel
- top of the sliding panel
- latch side
- worn original brush seals
- rattling in the frame
Best starting point
For aluminium sliding doors, we usually look at the bottom, top and latch side. EMV Slim Line Seal is useful for these areas because it is low-profile and self-adhesive, so it can help seal small draughty gaps without stopping the door from sliding.
We do not offer a standard DIY fix for the trailing edge. There are too many variations in aluminium sliding door design to provide one reliable solution for that edge.
Learn the fix
Shop the fix
Individual Components
If all this looks a bit too challenging you might need a step-by-step approach Find and Fix My Draughts
Timber sliding doors
Timber sliding doors do not behave the same as aluminium sliding doors. The frame, movement, surface and gaps are different, so the sealing approach are different.
Common draught spots
- under the door
- along the closing edge
- around the track
- gaps caused by wear or movement
- old brush seals or missing seals
Best starting point
Check how the door moves and where it closes. If it still slides smoothly, you may be able to improve the draughts with brush seals or suitable door-bottom seals. If it drags, catches, scrapes or wobbles, fix the door movement first.
Draught proofing a door that does not operate properly is like putting a nice hat on a goat. That might be entertaining, but it is not the solution.
Learn the fix
Shop the fix
If all this looks a bit too challenging you might need a step-by-step approach Find and Fix My Draughts
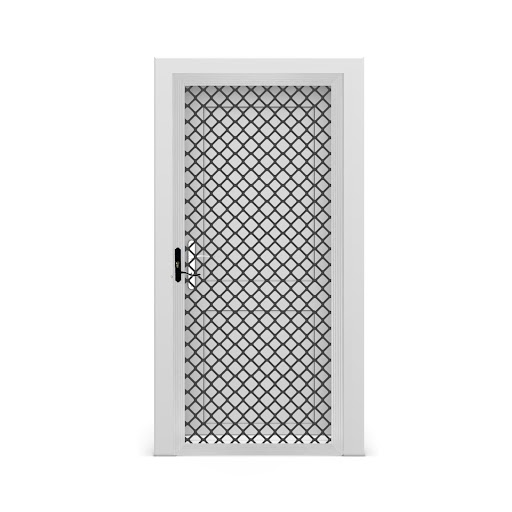
Security screen doors
Security doors are brilliant for ventilation. They let you open the house safely when the weather is glorious. But they can also have big gaps underneath, which insects, dust and small outdoor villains may see it as a personal invitation to join your cosy home.
Common draught spots
- under the security door
- uneven sill or threshold
- large bottom gaps
Best starting point
Security screen doors are usually about sealing the bottom gap, while still allowing the door to operate properly. You also need to check clearance. Some door-bottom products need enough room between the security door and the main door.
Learn the fix
- How to measure your door gaps
- Can You Use Draught Dodgers with a Screen Door?
- How to choose an under door seal (coming soon)
Shop the fix
If all this looks a bit too challenging you might need a step-by-step approach Find and Fix My Draughts
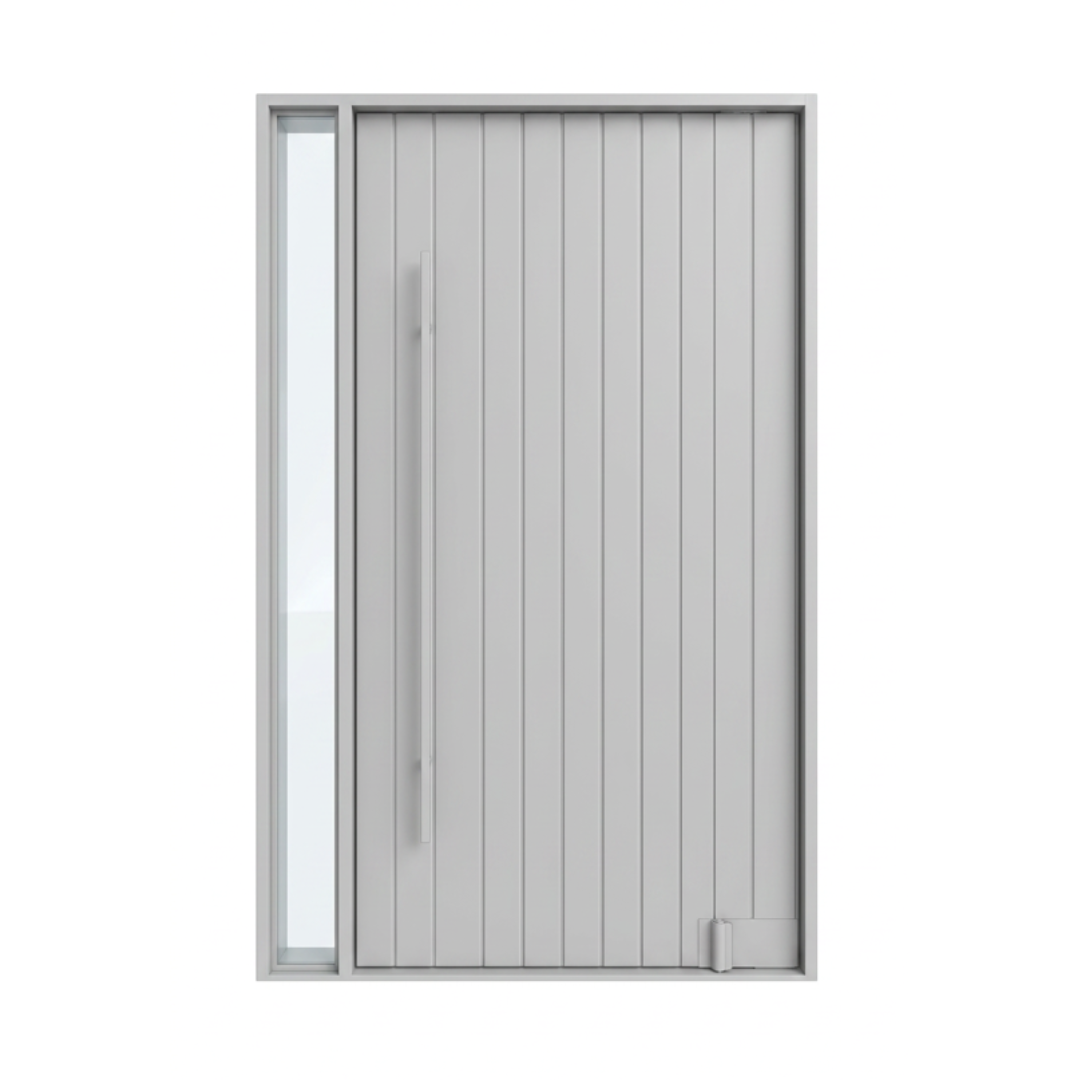
Pivot doors
Pivot doors are architectural statements. Lovely to look at and very difficult to seal. Because they rotate from pivot points rather than standard side hinges, the gaps and movement are very different from a normal hinged door.
Common draught spots
- under the door
- around the pivot side
- around the latch side
- at the top
- yeah, basically everywhere
Best starting point
Pivot doors need careful assessment. Some can be improved. Some need a custom approach from an experienced draught proofer - no, not a VEU draught proofer - a professional. Some pivot doors are basically an architect’s vision without regard for practical considerations, like ... do they keep the weather out! 😣
Learn the fix
Shop the fix
Cavity sliding doors
Cavity sliding doors are mostly internal, but they can still leak air between rooms.
They are especially common for laundries, bathrooms, ensuites, wardrobes and internal access points.
They are also awkward because more than half the door disappears into the wall cavity, making it extra challenging to draught proof without it dragging on the door or sounding like a drum.
Common draught spots
- under the door
- along the closing edge
- around the cavity opening
- between rooms with different temperatures
- internal garage access areas, where relevant
Best starting point
There is no 'best starting point'. To get the best outcome, you need to deal with the door as a whole rather than trying to pick and choose.
Learn the fix
Shop the fix
Kits
If all this looks a bit too challenging you might need a step-by-step approach Find and Fix My Draughts
Internal hinged doors
Internal doors are not usually about stopping outdoor draughts - they are about zoning.
A closed internal door should help keep heating or cooling in the part of the home you are actually using. But most internal doors do not seal properly. Air can still move under the door and around the sides and top. That means warm air can wander off into the laundry, bathroom, hallway, stairwell or spare room making your whole home uncomfortably hot or cold.
The Internal Doors Kit is designed for single hinged internal doors where you want to separate one room or zone from another. It is especially useful for bathrooms, laundries, toilets, ensuites, hallways, bedroom wings, stairwells and unused rooms.
Common draught spots
- under the door
- along the latch side
- along the hinge side
- across the top
- between warm living areas and cold wet areas
- between heated rooms and unused parts of the home
- internal garage access doors, where relevant and not a cavity slider!
Best starting point
For internal hinged doors, think four sides. The biggest gap is usually under the door, so the Internal Door kit uses an RP2A brush seal across the bottom. The smaller gaps around the two sides and top are sealed with EMV Slim Line Seal, fitted to the door jamb. Together, they help the closed door behave more like a proper zoning boundary.
Important check
The RP2A brush seal is best suited to internal doors that open over hard flooring, such as tiles. The RP2A has a brush length of 19mm - so that will suit most doors.
Before installing, check the whole sweep of the door. If the floor rises as the door opens, the brush may drag. If the door opens over carpet you will need an RP1 (affectionately known as ‘the fluffy roller’) instead.
Important: Do not seal an internal door if that door is required for ventilation, especially near open-flued or unflued gas appliances.
Learn the fix
- DIY Project: Seal Internal Doors and Keep Comfort Where You Need It
- How to Draught Proof the Bottom of an Internal Door with RP2A
- How to Install EMV Perimeter Seal
- Find and Fix My Draughts
Shop the fix
Kits
Individual Components
If all this looks a bit too challenging you might need a step-by-step approach Find and Fix My Draughts
Not sure what kind of door seal you need?
Start with the door type. Then check the leak.
Ask yourself:
- Is the draught under the door?
- Is it around the sides or top?
- Is the threshold uneven?
- Does the door slide, swing, pivot or disappear into a wall?
- Does the door still open and close properly?
- Is this an external door, internal door, garage access door or security door?
Still not sure where to start? Get Maurice on Find and Fix My Draughts. He’ll walk you through the house, show you where the sneaky little draughts hide, and help you use your very own Draught Proofing Bingo Card to turn “I have no idea what I’m doing” into “Look at me - I’ve done it!”
Final word from the draught department
The best door seal is not the one that looks most impressive in the packet. It is the one that suits your door, your gap and the way your door moves. Get that right, and your home will be warmer in winter, cooler in summer and cost less to run. Find the gap and choose the right seals. Then you get to keep the weather outside, right where it belongs.