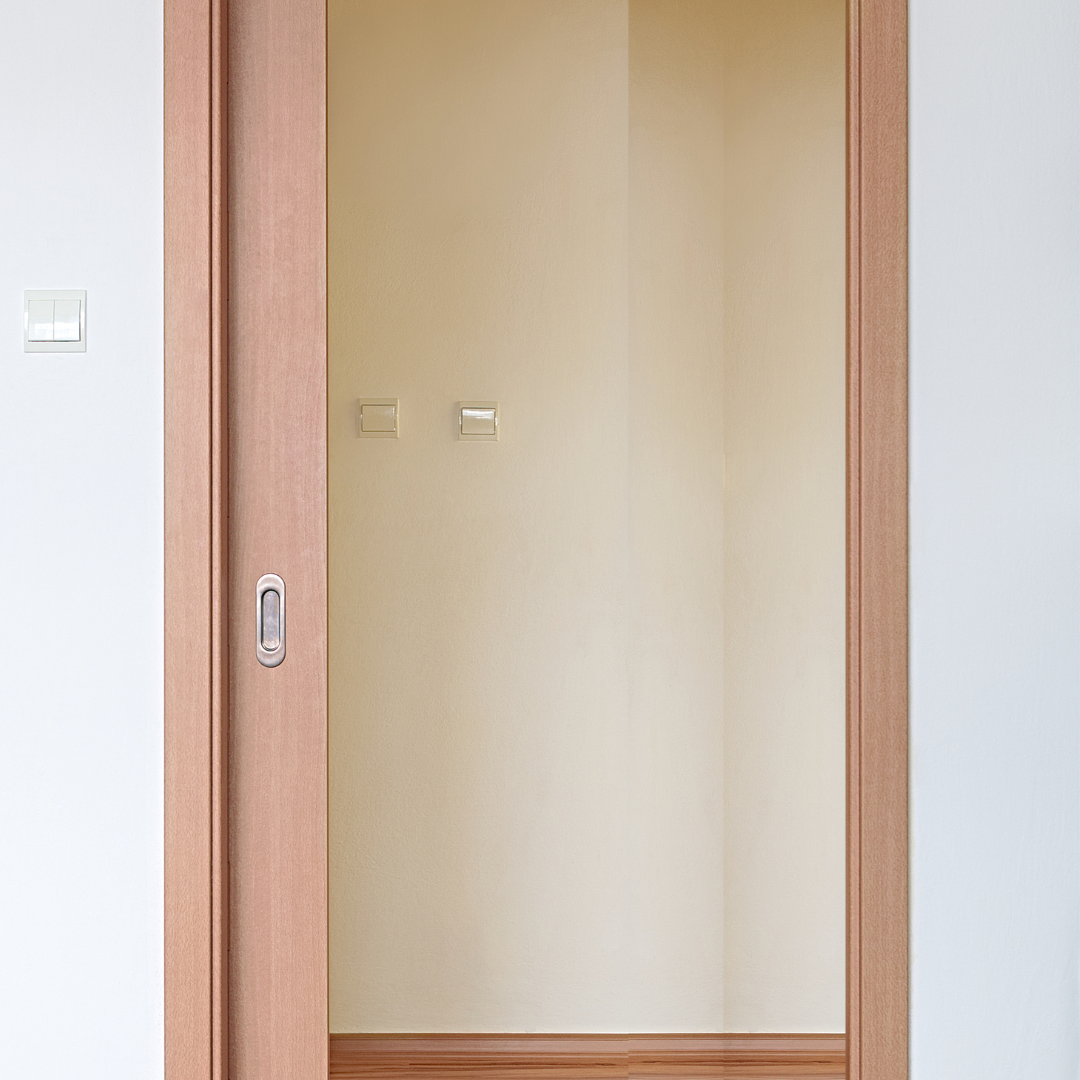
Slide Into Comfort with the Cavity Sliding Door Draught Proofing Kit

Cavity sliding doors are sleek, space-saving, and stylish — but when it comes to being air tight? Not their strongest suit. These doors are notorious for leaking air, letting in cold breezes, heat, smoke, dust pollen and even sneaky noise from the next room.
That’s where this clever little kit steps in.
With a few simple steps, you can transform your cavity slider from a breezy nightmare to a sealed-up star performer — improving comfort, slashing energy waste, and giving you back the peace and quiet you deserve.
🧰 What Is It?
The Cavity Sliding Door Draught Proofing Kit is a DIY-friendly bundle designed to stop air, dust, and noise slipping through the gaps around your internal sliding doors.
You get everything you need to draught proof:
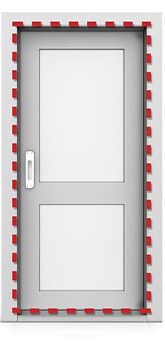
✅ The top and bottom of the door
✅ The leading edge (where it meets the jamb)
✅ The trailing edge (the part of the door that always stays in the cavity)
It is important to understand that the kit seals only one side of a door.
🏡 What Problem Does It Solve?
In many homes, the cavity sliding frame butts up onto an external wall. In this case, there is often draught from the wall cavity that enters (or leaves) your home. So this represents a permanent draught in your home.
There is also an issue where one side of a cavity sliding door is used as the access door to a garage. This is effectively an external door because a garage is a draughty unheated / cooled space and the other side of the door is in your home. So its extra important that this kind of door is well sealed.
Cavity sliding doors rarely (yeah ok, never) have factory-installed seals. That means:
- Cold air from hallways or bathrooms sneaks through
- Heated or cooled air disappears fast
- Every gap is a tiny escape route for comfort — and your money
By sealing around the door, you zone your home more effectively, control airflow, and boost year-round comfort without relying on excessive heating or cooling.
🛠️ What’s in the Kit?
Everything you need to retrofit one side of a cavity slider:
✅ Quality seals (easy to cut to size)
✅ Mounting options for all 4 sides
✅ Fitting videos to get the job done right
✅ Bonus smug feeling when the draught is finally gone 😎
🧑🔧 How to Install It
📽 Watch the installation videos.
- Part 1 – Overview
- Part 2 – Cleaning your door
- Part 3 – Preparing the bottom guides
- Part 4 – Installing to the head of the door
- Part 5 – Fitting the latch side
- Part 6 – Fitting the bottom draught excluder
- Part 7 – Installing on the trailing edge
Installation takes a bit more care than a front door kit — but it’s absolutely doable with basic tools and a patient mindset. Expect it to take around 30–45 minutes depending on your skill level and door type.
📖 Follow the step-by-step printed guide
Gotcha. There is no printed guide. We have tried to write one, but explaining what bit of the kit goes where is just too challenging, even for me! So, watch the videos please. They are step by step. Maurice takes you through exactly how to fit each component.
✅ Why This Works (When Other Solutions Don’t)
✘ Don’t bother with foam tape or dodgy plastic flaps — they don’t seal the door and usually fall off
✔ This kit uses proper compression seals that work with the motion of the door
✔ It doesn’t interfere with the smooth operation of your slider and doesn’t sound like a drum
✔ It looks neat, tidy, and like it was always meant to be there

Common Questions and Troubleshooting
Will this stop sound from leaking through too?
It won’t soundproof the door, but it will help reduce noise transfer significantly — especially when sealing bathrooms or ensuites.
Can I use this on double sliders or wardrobe doors?
This kit is designed for single internal cavity sliding doors, not external or dual-track doors. If you’re unsure, reach out to our team — we’ll help match the right solution.
Is it renter-friendly?
Yes – and shortly your landlord will not be able to stop you from draught proofing your home. Its part of the Minimum Rental Standards being introduced on a State by State basis. In fact, your landlord should be paying for the kit – its tax deductible for them.
💡 Expert Tips
- Clean the mounting surfaces first (yes, even the bits you can’t see!)
- Take your time — a precise fit makes all the difference
🛒 Ready to Stop the Rattle?
Transform your draughty sliding door into a comfort-enhancing feature:
👉 Get the Cavity Sliding Door Kit Here
Related Resources
Link to Related Articles:
- Find and Fix My Draughts Quiz – Not sure where to start? This quiz will help you pinpoint the leaks.
- The Essential Guide – How to Draught Proof a Cavity Sliding Door
