Table of Contents
A Cold New Beginning
Well over two decades ago our family returned to Australia after living in Europe for a few years. Instead of returning to Sydney, where (let’s get real) winter takes about 3 weeks, put a jumper on and get over yourself; we moved to the regional town of Gisborne 50km inland from Melbourne and at an elevation of 500 metres.
Gisborne was very much a country town back then and just what our Australian-born-but European-apartment-dwelling-children needed to re-establish themselves as well grounded Aussie kids.
As part of the deal of moving ‘home’ was the purchase of a multi-generational home so my mum (Nanna) could come and live out her life surrounded and supported by her family.
A big house in the country, an orchard, veggie patch, a couple of cows, some chooks, a dog, a cat and Nanna. Family reunited, back on Aussie soil. All good. Except this… Gisborne is cold in winter, not as cold as a European winter, but it was the coldest house we had ever lived in – ever.
What’s this got to do with Draught Dodgers??? Hold tight, I’m getting there…
Nanna, Gisborne and winter are all equal key influencers in the development of Draught Dodgers.

Realising Heating Alone Wasn’t the Answer
It was our first winter in Gisborne. We were cold. Very cold. The kids were miserable and Nanna wasn’t happy. No amount of heating could be retained in this house. The cost of trying (and failing) to heat the house was seriously high. We weren’t even remotely warm, and let’s not talk about the carbon emissions!
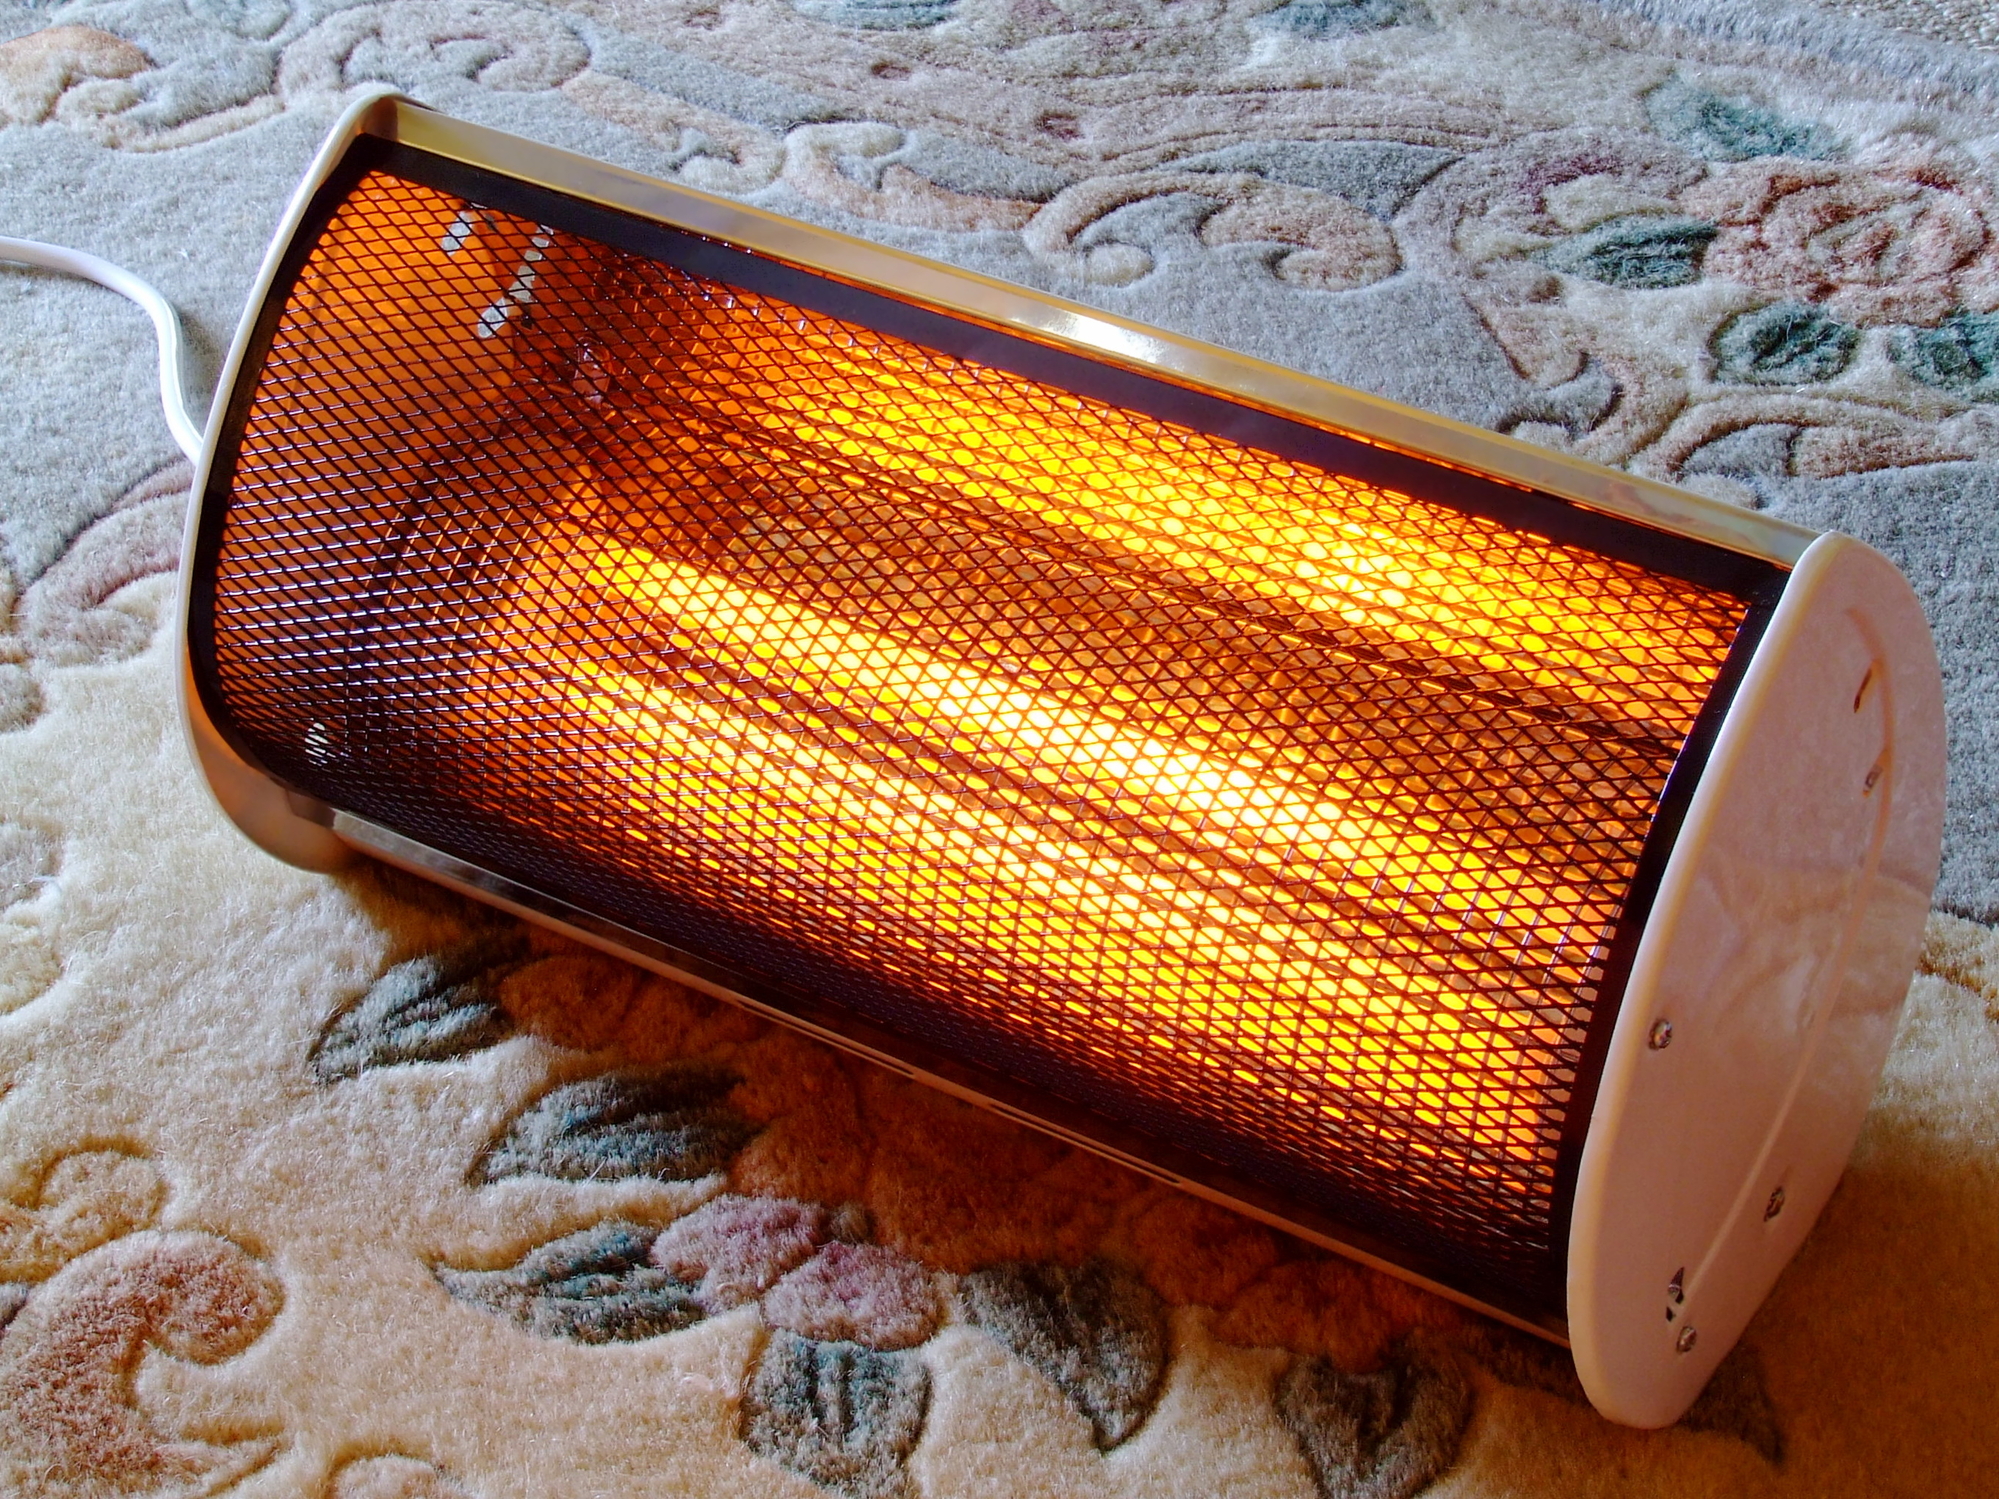
My hubby and partner in life, Maurice, started researching. It’s a long story and involves him building a heat chamber, hiring a cool room and testing every insulation product on the market in a test house, measuring internal and external temperatures over a 6 month period. It was extreme testing. He is nothing if not thorough!
But during that time, he made a startling discovery. He was starting at step 2 of the retrofit journey.
So then he started on researching Step 1 – draught proofing.
The First DIY Draught Proofing Attempts

Like everyone, we (he) started on the front door. I supplied coffee and encouragement. He did all the research, sourced all the products and all the work. It’s a match made in ‘happy home land’. 🙂
Just like everyone else, he bought the sticky stuff that goes around the door (what we now know as a ‘perimeter seal’) and we invested in a couple of door snakes. The kids thought the door snakes were the best fighting implements ever invented and it wasn’t long before we had torn snakes and sand through the house. Nanna was not impressed.
As we were rethinking the door snakes, we thought we should get on with the sticky stuff around the doors. Maurice meticulously cleaned the door jamb (the bit that the door touches against when it closes) and very carefully fitted the sticky stuff. It was a vision of perfection. He opened and closed the door several times to an assured “thunk”. A thing of beauty. He was satisfied. No air leakage around that door any more. Job done.
The next day, we had gone off to continue building our kids’ school (another long story), when we got a call from Nanna. “I can’t get the front door closed” she said. There was a bit of exasperation on both sides of the phone call. Maurice, the ever dutiful son-in-law, kitted out with the patience of a veritable saint, left the building site and went home to help Nanna shut the front door.
He discovered that while HE could shut the front door, 75+ year old Nanna with arthritic hands could not. The door needed to be pulled really hard to squash the sticky stuff in the door jamb to get it closed. In the interest of expediency, the sticky stuff was removed and Nanna could shut the door. Nanna = happy. Maurice = not so!
The Trouble with Sticky Rubber Stuff…
As we developed our expertise in retrofitting homes (having retrofitted ours from 1.5 stars to 7.6 stars – and now 10 stars, and then retrofitted over 20,000 more homes), we understood the failings of some of the commonly used draught proofing products:
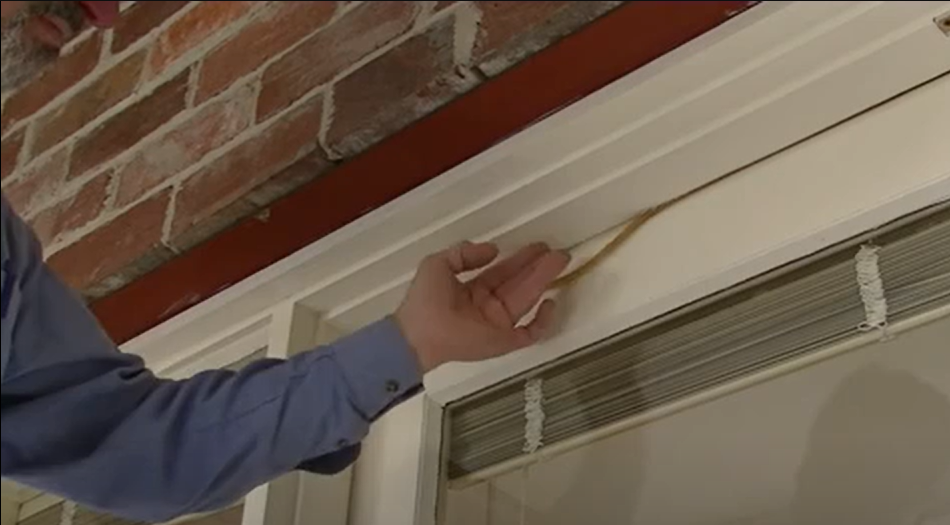
Sticky rubber weather seals – what we wished we knew:
Crushed seals will become less effective (click to read more)
Maurice understood that “sticky stuff”, designed to be crushed in a door jamb, is going to be less effective over time. Every time it gets crushed in the door jamb it bounces back less and less. It also has the rather unfortunate tendency to fall apart in the combination of UV light, dirt, friction and regular crushing that is its life in the door jamb. Each time the door is opened and closed, the sticky stuff in the door is going to be crushed, crushed and crushed again. Eventually it will not reform itself and just becomes a sticky flat mess in the door jamb.
Evenly Spaced Gaps Around the Door?? What happens if my gap ISN’T even? (click to read more)
There are very few doors that have a consistent gap all the way up one side of the door, across the top and down the other side. Sticky stuff is generally 2mm thick, so for it to be effective, it is going to need a fixed width gap all the way around the door.
In reality, there are very few doors that have a consistent gap all the way around. This means that either the door will be really difficult to close if the door gap is less than 2mm or there will still be draughts if the door gaps are greater than 2mm in any area around the sides and top of the door.
Doors Shifting with Changes in the Weather (click to read more)
Many homes shift on their foundations, particularly if they are located on reactive soils. As the area around the foundations shrinks when it is dry, the foundations and the door, shift ever so slightly. But it is often enough to make it difficult to operate the door. When it rains, the soil around the foundations expands causing the foundations to shift again. This means that anything of a fixed width in a gap is going to cause trouble closing the door when the door and / or foundations are shifting.
Banana Shaped Doors ?? How do we fix those? (click to read more)
During the course of our draught proofing adventures around Victoria, we discovered the ‘banana shaped door’. Mostly this was a front door with a family who was very keen to have a draught proofed door. These folks would diligently apply the ‘sticky stuff’ to their door and pull the door tightly shut. The sticky stuff where the lock is located would be tightly secured but the pressure of the sticky stuff against the top and bottom of the door would push the door away from the jamb. Over time, that would lead to a gap (and draught) forming at the top and bottom of the door. The diligent householders would apply even more sticky stuff to the gaps in order to prevent the draughts. Over time, that was bending the door into a banana shape.
Poor Glue Adhesion ?? Is there a solution?? (click to read more)
An interesting phenomenon was the incompatibility of hot weather and sticky stuff. We found that the glues used on ‘sticky stuff’ actually melt in the hot weather. This was especially so if the door is exposed to the weather. The sticky stuff glues melt, leaving a flapping unsecured seal and an icky mess on the door jamb. 🙁
The Very First Draught Dodger Prototypes

The shift in thinking was to place the Draught Dodgers on the door frame instead of in the door jamb. Any “in jamb” weather stripping type device is bound not to work as soon as the gap is not uniform all the way around the door (which is almost always). Fitting a perimeter seal onto the door frame completely eliminates this problem and makes it super easy to close the door – regardless of the age or health condition of the door closer.
After some more research, the bulb seal was replaced with a compressive seal. We found that when you open and close the door, a bulb seal on the hinged side was always being pinched in the door jamb.
Some beautiful joinery was fashioned to provide a more streamlined and aesthetically pleasing look. Nice!
Road to success
Over time, Draught Dodgers became a regular feature in our professional draught proofing services. Many people had tried the ‘sticky stuff’ and were relieved to have Draught Dodgers fitted so that the uneven gap around their door was covered, the doors would move with the weather and Draught Dodgers would happily move with the door frame. Our installers were ‘ace’ at getting those Draught Dodgers installed exactly right. Once again, “a thing of beauty”.
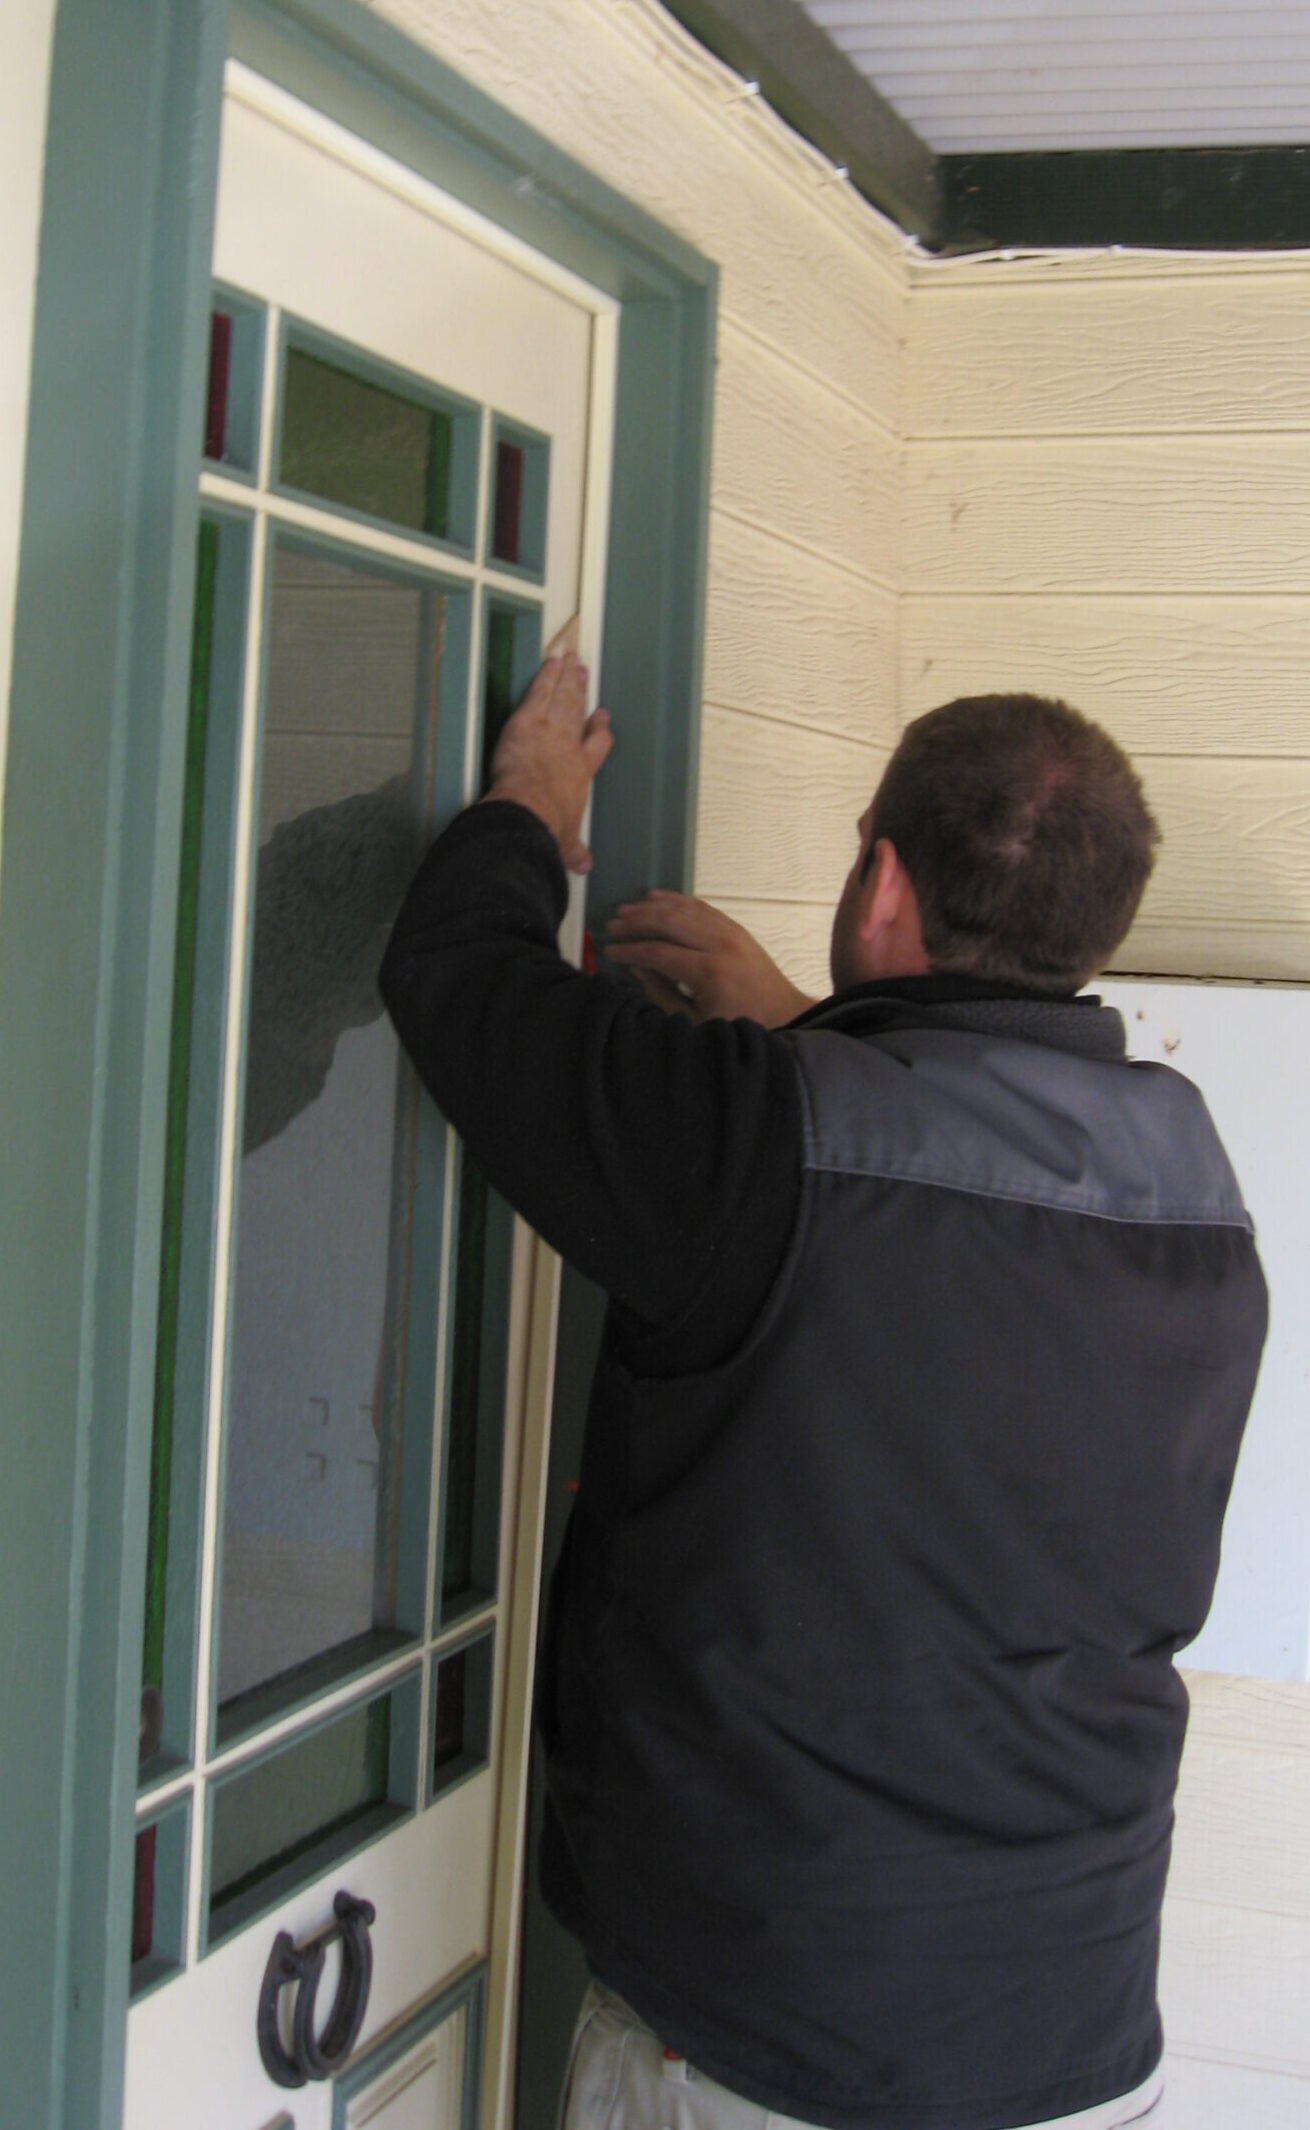
Turning Draught Dodgers Into a DIY Solution

And then one day, on our way to give a talk at Ballarat we had a call from a customer who wanted to install Draught Dodgers. But he wanted to do it himself. Our professional draught proofing service was out of his financial reach.
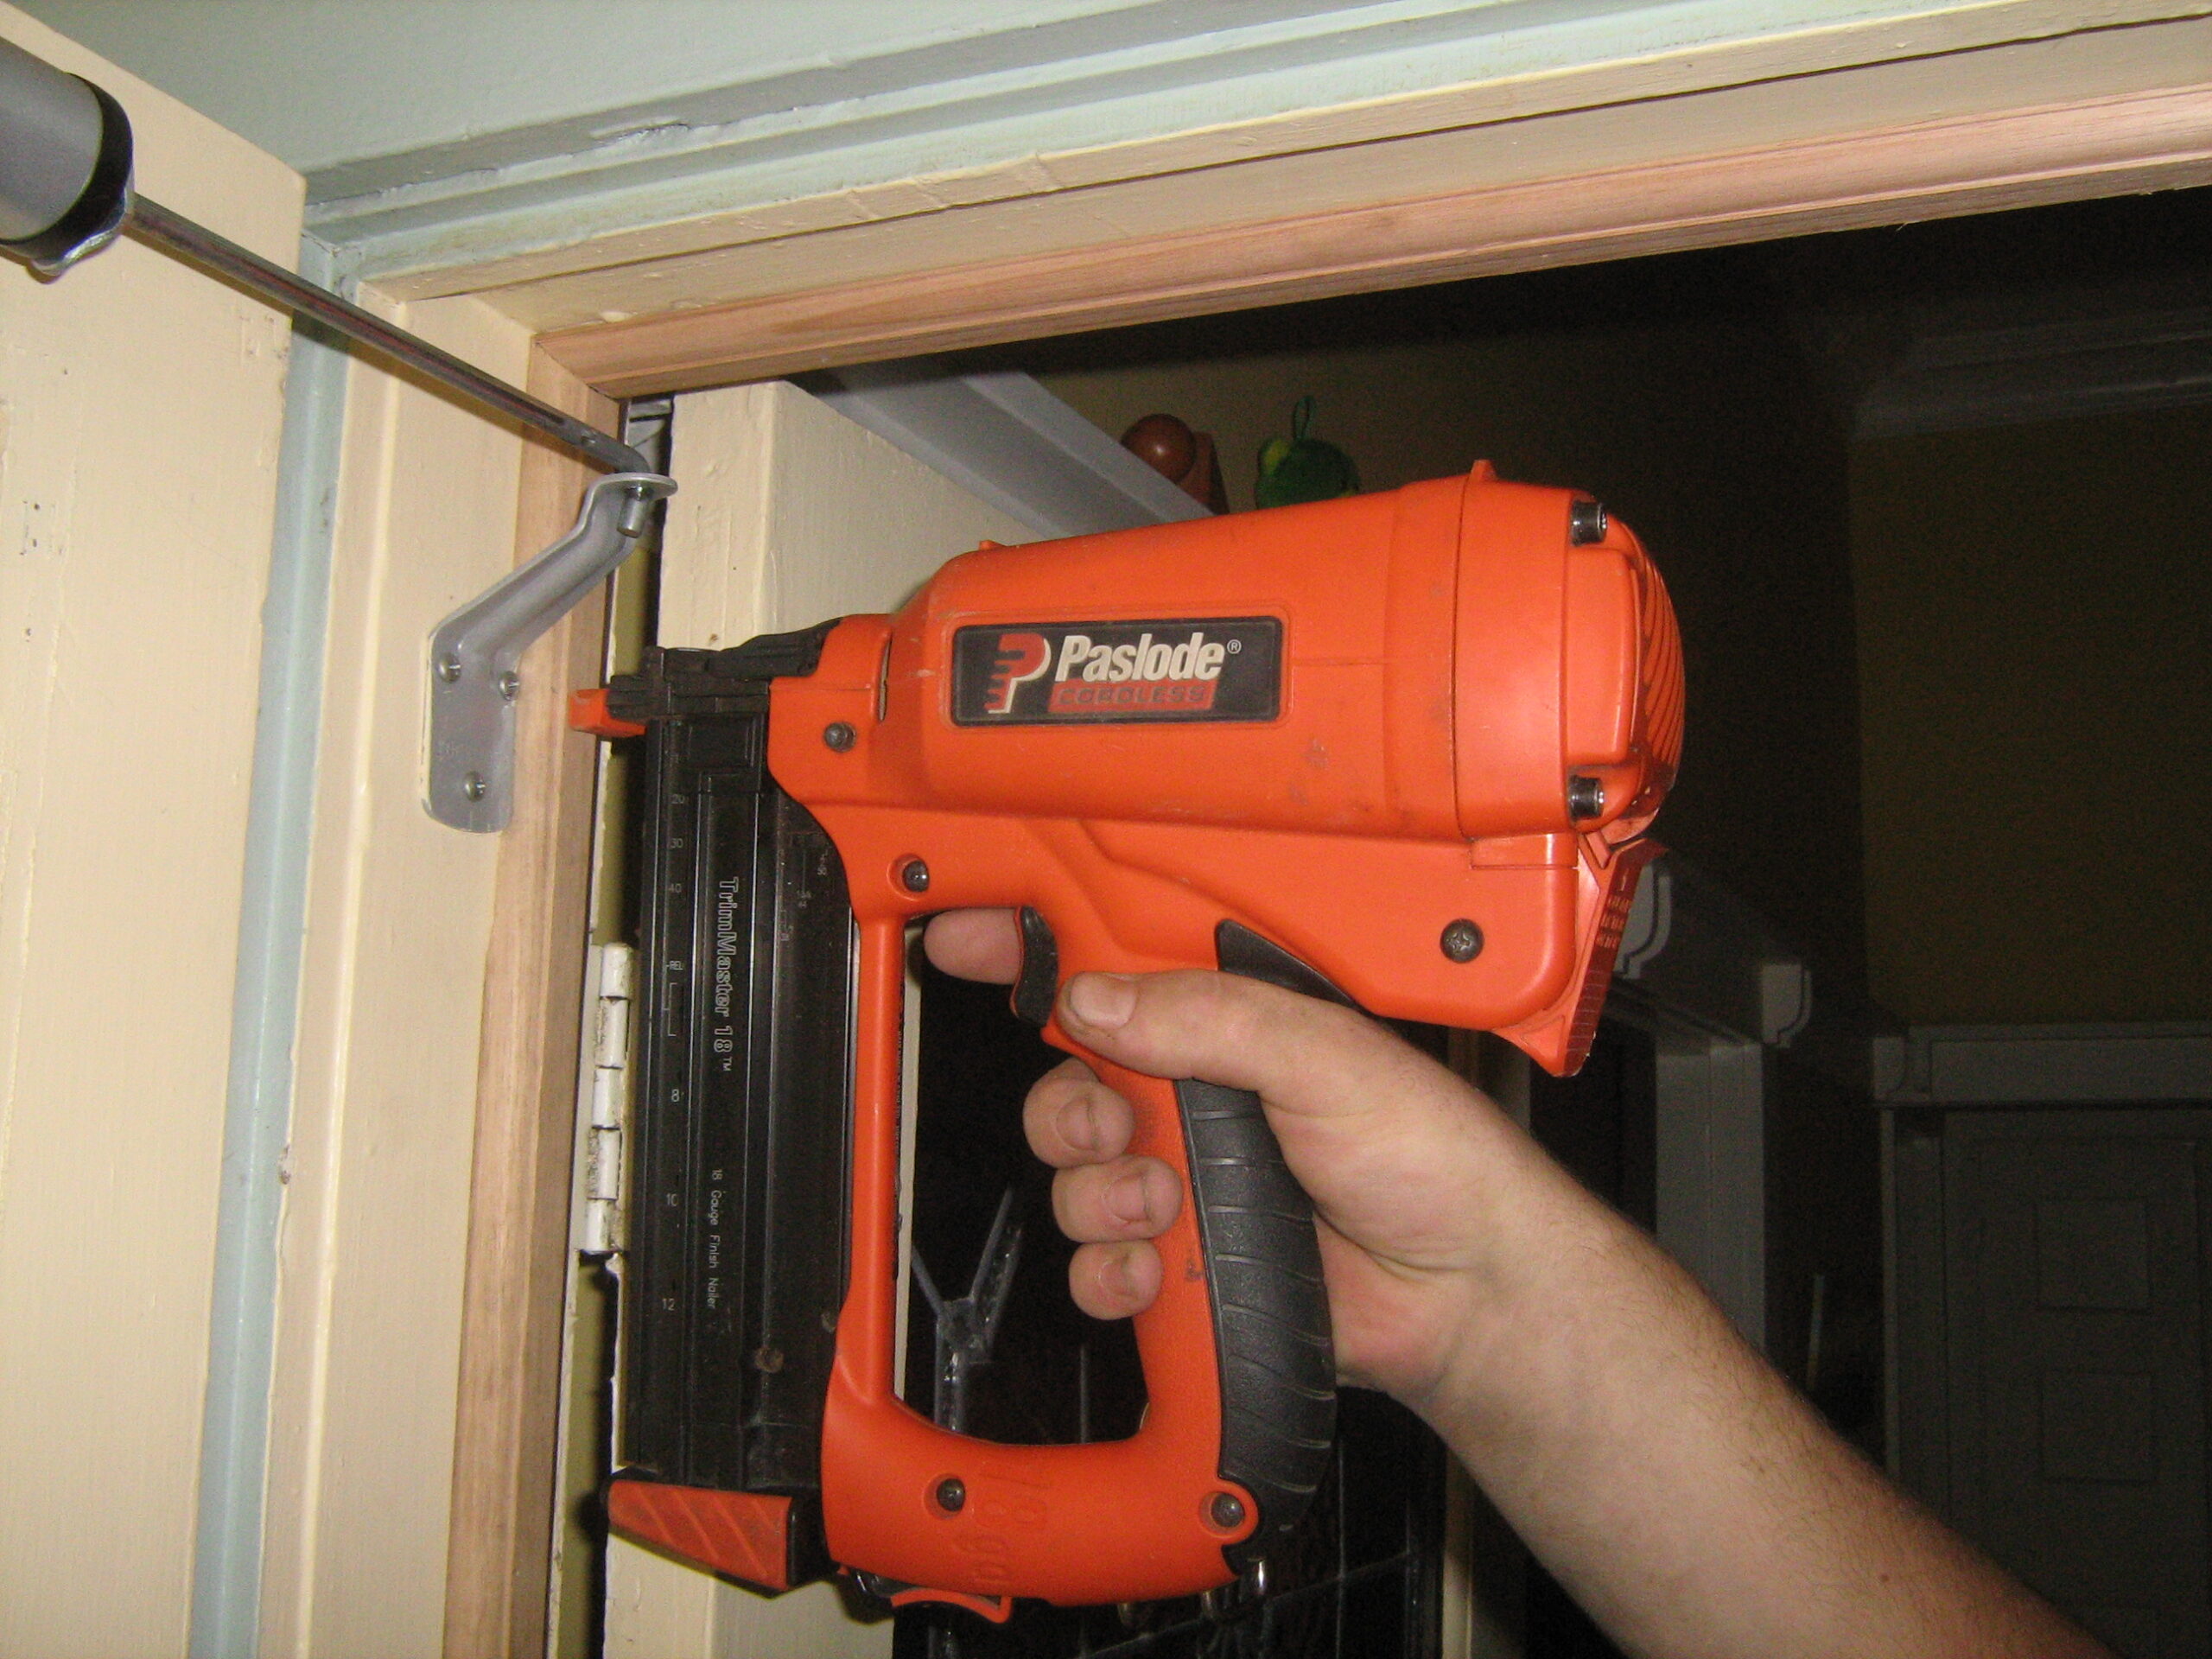
So this posed a problem for Maurice. He was very happy to have Draught Dodgers installed on a DIY basis, but it wasn’t a DIY friendly product! The installer needed to have all the necessary carpentry gear to install it, including a very expensive brad gun. (What’s a brad gun? – think ‘baby nails’). Not every person who wants to install Draught Dodgers is going to have a brad gun sitting in the garage (poor souls).
Back to the garage… After some time, Maurice emerges with some double sided tape. Draught Dodgers was fitted with double sided tape on the back of the moulding and fixed onto the door frame. Another one of our doors undergoes the research and development treatment!
So a couple of things we learnt…
- Self adhesive tape meant that you didn’t need to have a Brad Gun, it was DIY friendly
- The Draught Dodgers fell off the door
- The placement of the Draught Dodgers on the door could be interpreted as “a bit random” by someone not as obsessed as Maurice with their exact location on the door frame.
Back to the garage… this time, a smaller version of the heat chamber that we had used years ago was developed. Maurice sourced all the adhesive tapes available in Australia and setup an experiment with weights attached to all the different adhesive tapes – and heat was applied. So it became a source of daily excitement to check the heat chamber to see which products had not lasted overnight and which ones were remaining. After 12 months (yes, I kid you not, it was 12 months of testing) we had our winner. At the end of testing, we could not remove the winning adhesive tape from the testing board. So now we have our winning adhesive tape to use on the Draught Dodgers to ensure they will stay stuck on a door frame.
Next problem to solve was the “random placement” of Draught Dodgers on the door.
Back to the garage… Maurice emerges with a “packer”, not of media fame, but of the width needed to ensure that the draught dodger is fitted to the door frame in exactly the right distance from the face of the door. This means that when the compressive seal is fitted later on, everything works perfectly.
Door frames are almost never square. This means that if you are relying on a mitre join between the sides and the top it will always look bad. 🙁
Therefore, the final piece of the puzzle was to design a joint that was not a mitre and would look good regardless of how ‘out of square’ the door frame actually is.
Experiment results
So now we have Draught Dodgers that:
- Use sustainably harvested timber mouldings
- With a strong adhesive strip to make DIYers happy (no brad gun!)
- Includes a fitting packer that ensures correct placement all the way around the door
- With compression seals that work and don’t get pinched in the door
- Beautifully crafted joins on the corners of the door
- All wrapped up with carefully crafted instructions.
Draught Dodgers Take Off – Expanding the Range
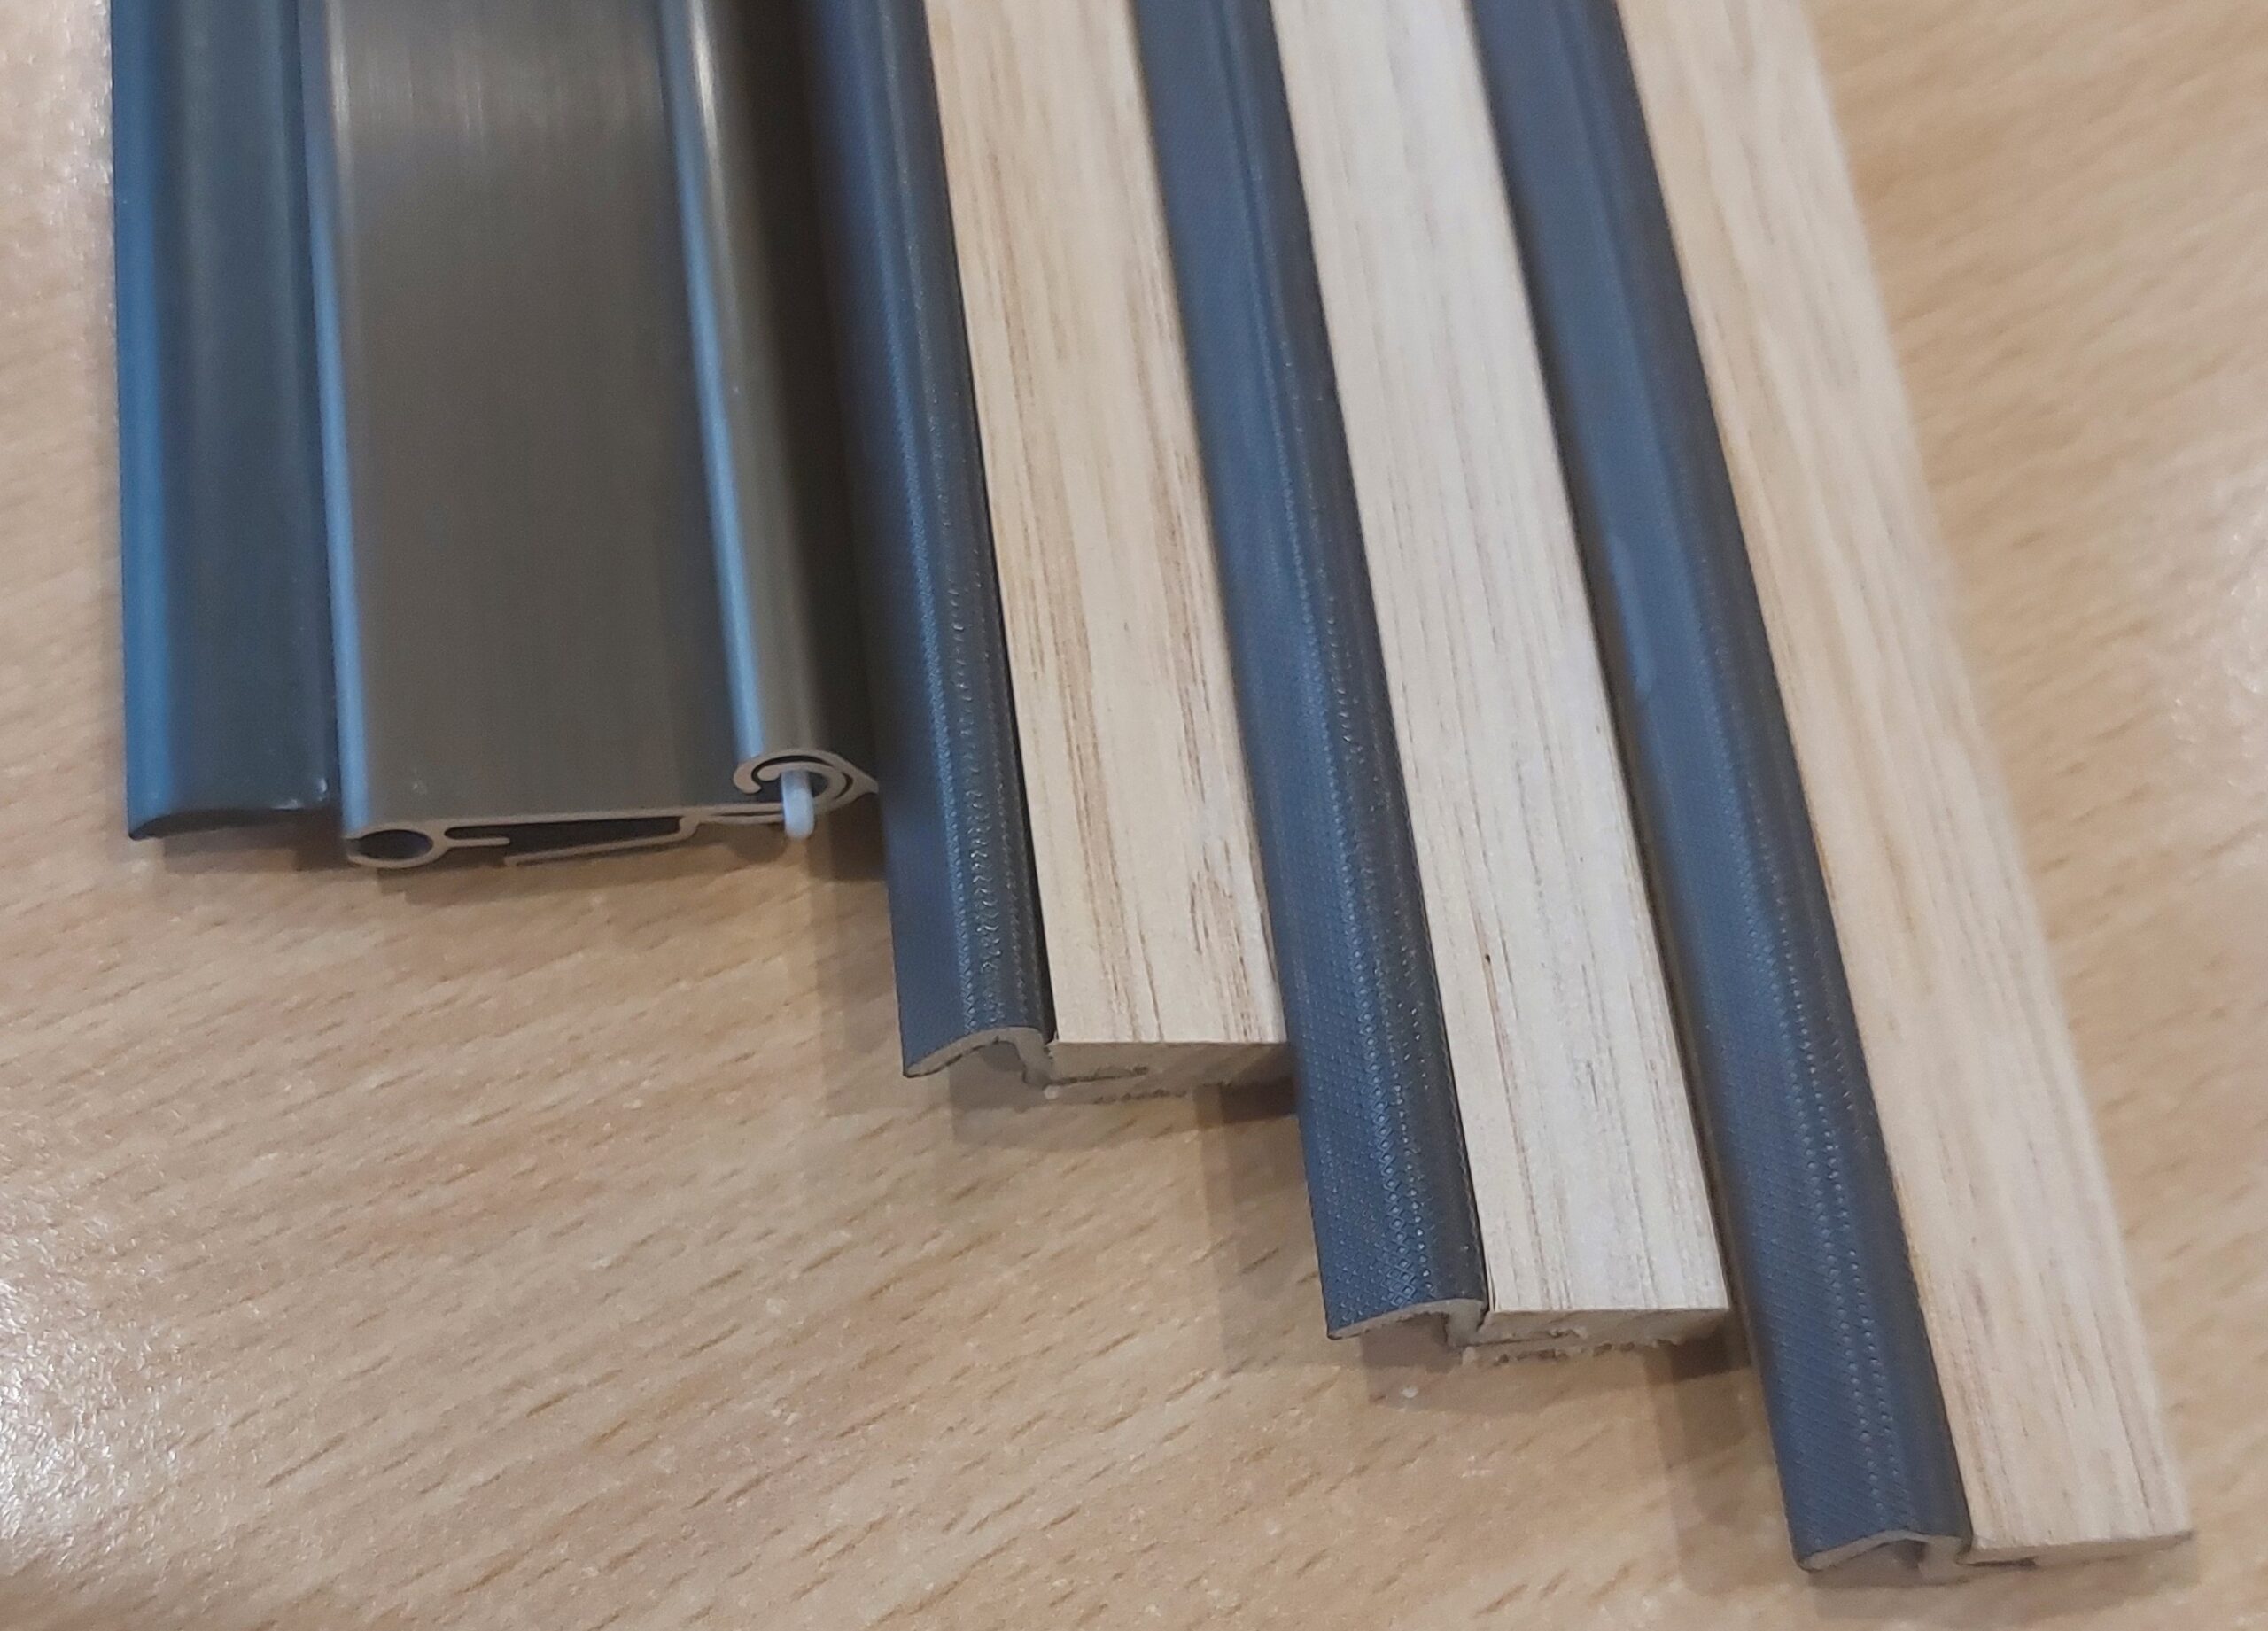
They are incredibly popular with folks who just want to deal with draught proofing their front and back doors once – and once only. It was such a hit, that it became the backbone of our draught proofing.
Something for a Cavity Sliding door!
The perfect solution for double hung windows!
Awning windows were next!
Then, of course, someone needed solutions for French Doors.
The Disaster! … And the Opportunities it Brought
And then disaster… the pandemic arrived. We could NOT source our timber mouldings. Anywhere.
Back to the garage…
But this time, the garage did not contain the answer. It did contain the 3D printer which was used to test and test and test a configuration of aluminium moulding that we would use to create a die to have aluminium mouldings manufactured.
Another long story short, we now have an Australian manufacturer making our aluminium Draught Dodgers – all weather!!
After the pandemic, our timber mouldings were once again available, so we can provide raw timber Draught Dodgers and white aluminium Draught Dodgers.
The next customer request… Could we make them in black? Of course we can. Black Draught Dodgers were born.
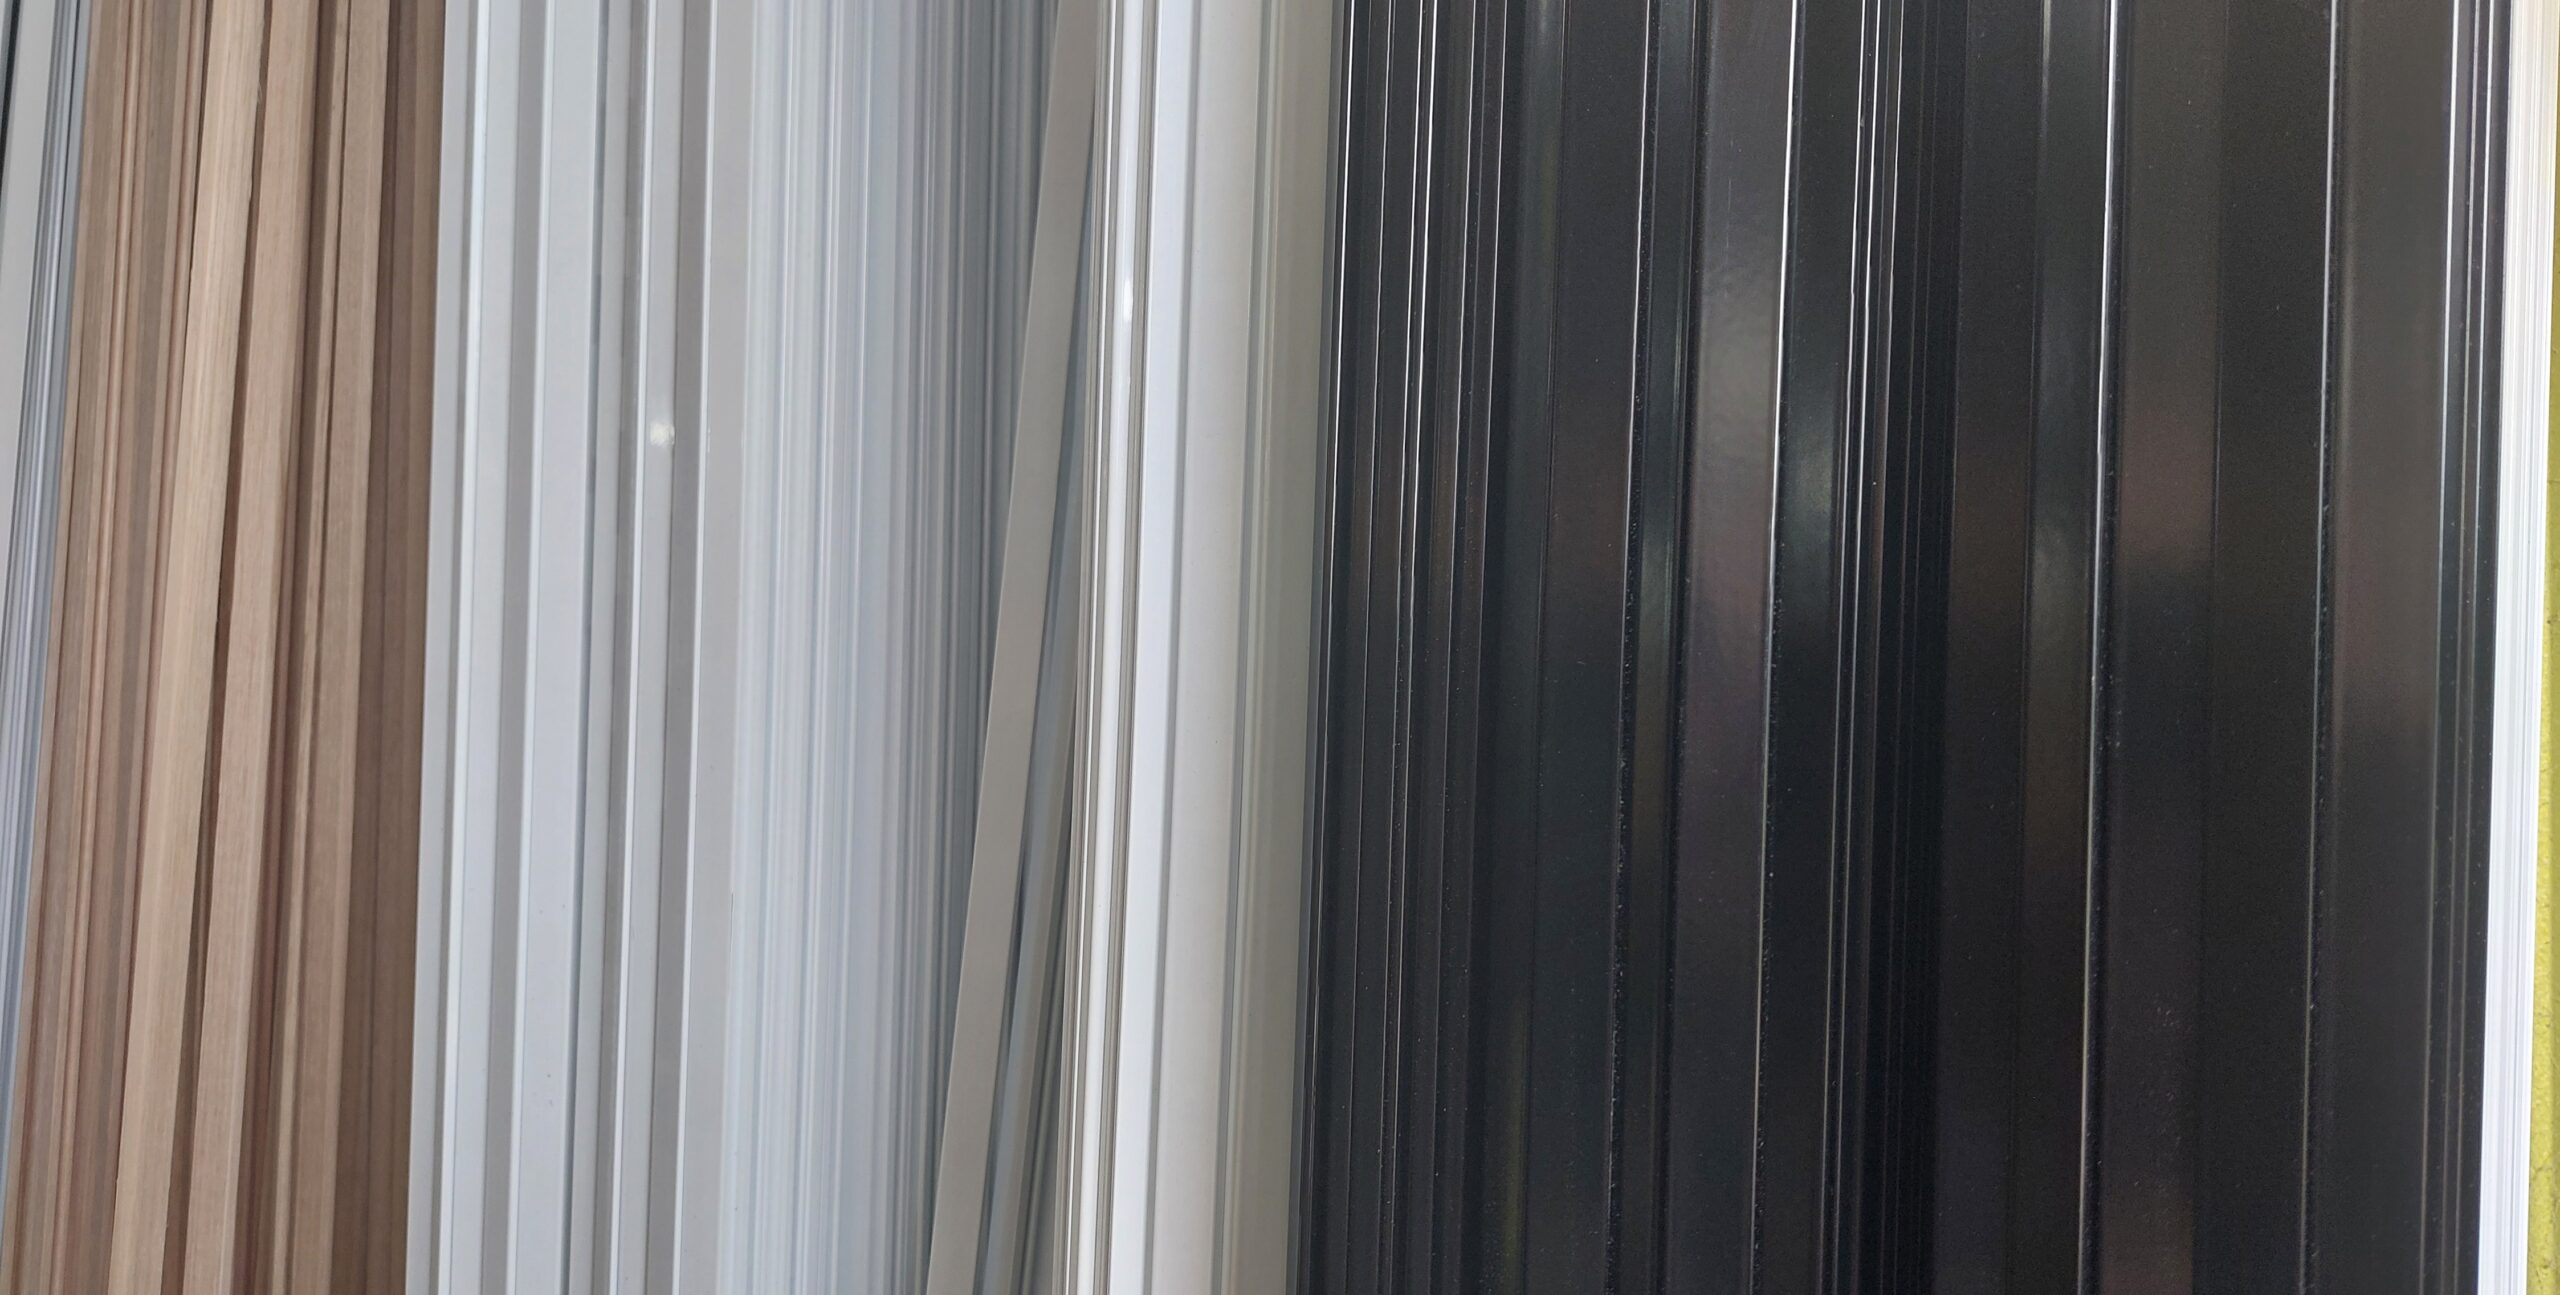
And then our customers wanted them in kits!
The External Door Kit was born (draught dodgers with the most popular door bottom excluder combo)
That lead to the Front and Back door kit – with a nice discount too!
And of course, an assortment of Spare Parts to mix and match your own.
A Legacy of Comfort and Innovation
The journey of Draught Dodgers is more than a business case; it’s a story of a family striving to create warmth and comfort not just within their home but for thousands of others. It’s a testament to the power of problem-solving and the spirit of innovation that drives us to keep homes across Australia cosy and energy-efficient.
We invite you to explore more about how Draught Dodgers can transform your home. Whether you’re dealing with a “banana-shaped door” or the quirks of an old charming house, we have a solution that not only works but lasts. Join us in our commitment to comfort and sustainability, one door (and window) at a time.
People Also Ask:
⇒ Where can I learn more about this from an industry expert?
ecoMaster has been working in the energy efficiency / retrofit arena for over 20 years. During that time we learnt an enormous amount about diagnosing issues, distinctions on various products as well as developing the best installation practices. We have done the research, so you don’t have to. All that information has now been condensed into a series of ecoMasterClasses. Click here to gain access.
⇒ What is a seal on a door?
A door seal is type of product designed to close the gaps around or underneath a door to block draughts, dust, smoke, insects and noise from sneaking inside.
There are three main types of door seals:
- In-jamb seals: These are sticky strips or compression seals that are applied inside the door jamb. They work by being crushed between the door and the frame when the door closes — but they flatten over time, the glue give way and it loses its effectiveness.
- Door frame seals (perimeter seals): These are fixed directly onto the door frame, creating a flexible barrier around the door without relying on crushing. Draught Dodgers are a great example — they move with the door frame and maintain a long-lasting, effective seal.
- Door bottom seals: These seals, like Raven’s RP range, fit along the bottom edge of the door to prevent air leaking underneath.
Choosing the right combination of perimeter and bottom seals can transform a draughty door into a well-sealed, energy-efficient entry point!
⇒ Can a door seal be replaced?
Yes! Most door seals can be replaced easily. If your old seal is damaged, crushed, peeling, or no longer sealing properly, you can remove it and install a new one. Choosing a high-quality replacement — like a Draught Dodger for Doors with a Raven bottom door seal — will ensure a longer-lasting and more effective result. And then you won’t have to worry about replacing door seals ever again. Job done!
⇒ How do you fix a leaking door seal?
First, check where the leaks are coming from — it might be the sides, the top, or under the door. If the seal is crushed, missing, or no longer flexible, it’s usually best to replace it. For a lasting fix, use a good quality compressive seal fitted to the door frame (like Draught Dodgers), rather than cheap sticky strips that flatten and fail over time.
What’s Next?
We hope this article has helped you understand more about door seals and the differences between them. This will help you on your energy and thermal efficiency retrofit journey to make your home more comfortable all year round, and reduce your costs and carbon emissions.
Next, explore what is secondary glazing – keeping your existing windows and transforming your comfort
If you found this article helpful, then please subscribe to our YouTube Channel. You’ll find many more helpful “How To” videos there. You can also follow us on Facebook and Instagram to stay in the loop. For more great information on how to make your home more energy and thermally efficient subscribe NOW to ecoBites. ecoBites are free bite size chunks of the latest energy efficiency information making it quick and easy for you to absorb.

Recent Comments