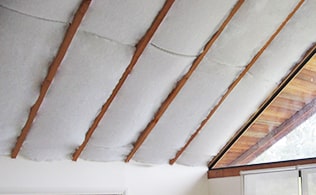
A common method to increase energy efficiency and reduce energy costs is to install ceiling insulation in your home’s roof.
In Australia, retrofitting ceiling insulation batts is an effective and relatively inexpensive way to instantly reduce energy consumption. This will save you money and make your home more comfortable throughout the year.
The roof is the major space through which you will lose energy from your home. The main benefit of installing ceiling insulation in homes is that it will reduce heat transfer through your roof. By trapping heat indoors during winter and keeping it out during summer, you can reduce your energy consumption and keep your house at a comfortable temperature year-round.
Before beginning a ceiling insulation retrofit project in Australia, there are some key things to consider:
Do You Already Have Insulation?
- It’s important to check the existing insulation levels in your home.
- If you already have a certain level of insulation installed, you will need to factor that into the retrofitting process.
- You will likely find some insulation in your roof that still has some value.
- You will be able to add new ceiling insulation batts on top to reach the ideal R-Value in your roof.
- To learn more about assessing your existing ceiling insulation for its condition and thermal R-Value check out our blog: WHAT R-VALUE INSULATION IS IN MY ROOF AND CEILING.

Not All Lights Are Created Equal.
Next you need to check the type of lights you have in your ceiling. Only certain lights allow you to install roof insulation directly over the top of them.
One example of these lights is the old style batten holder lights with a changeable globe. Batten lights typically have a white plastic housing mounted on your ceiling where you can see from your living space. These housings have a standard globe fitted into them using a bayonet or an edison screw fitting. It is safe to insulate over these batten lights because only the cable is exposed in your roof space. In fact, this applies to any surface mounted light fitting.
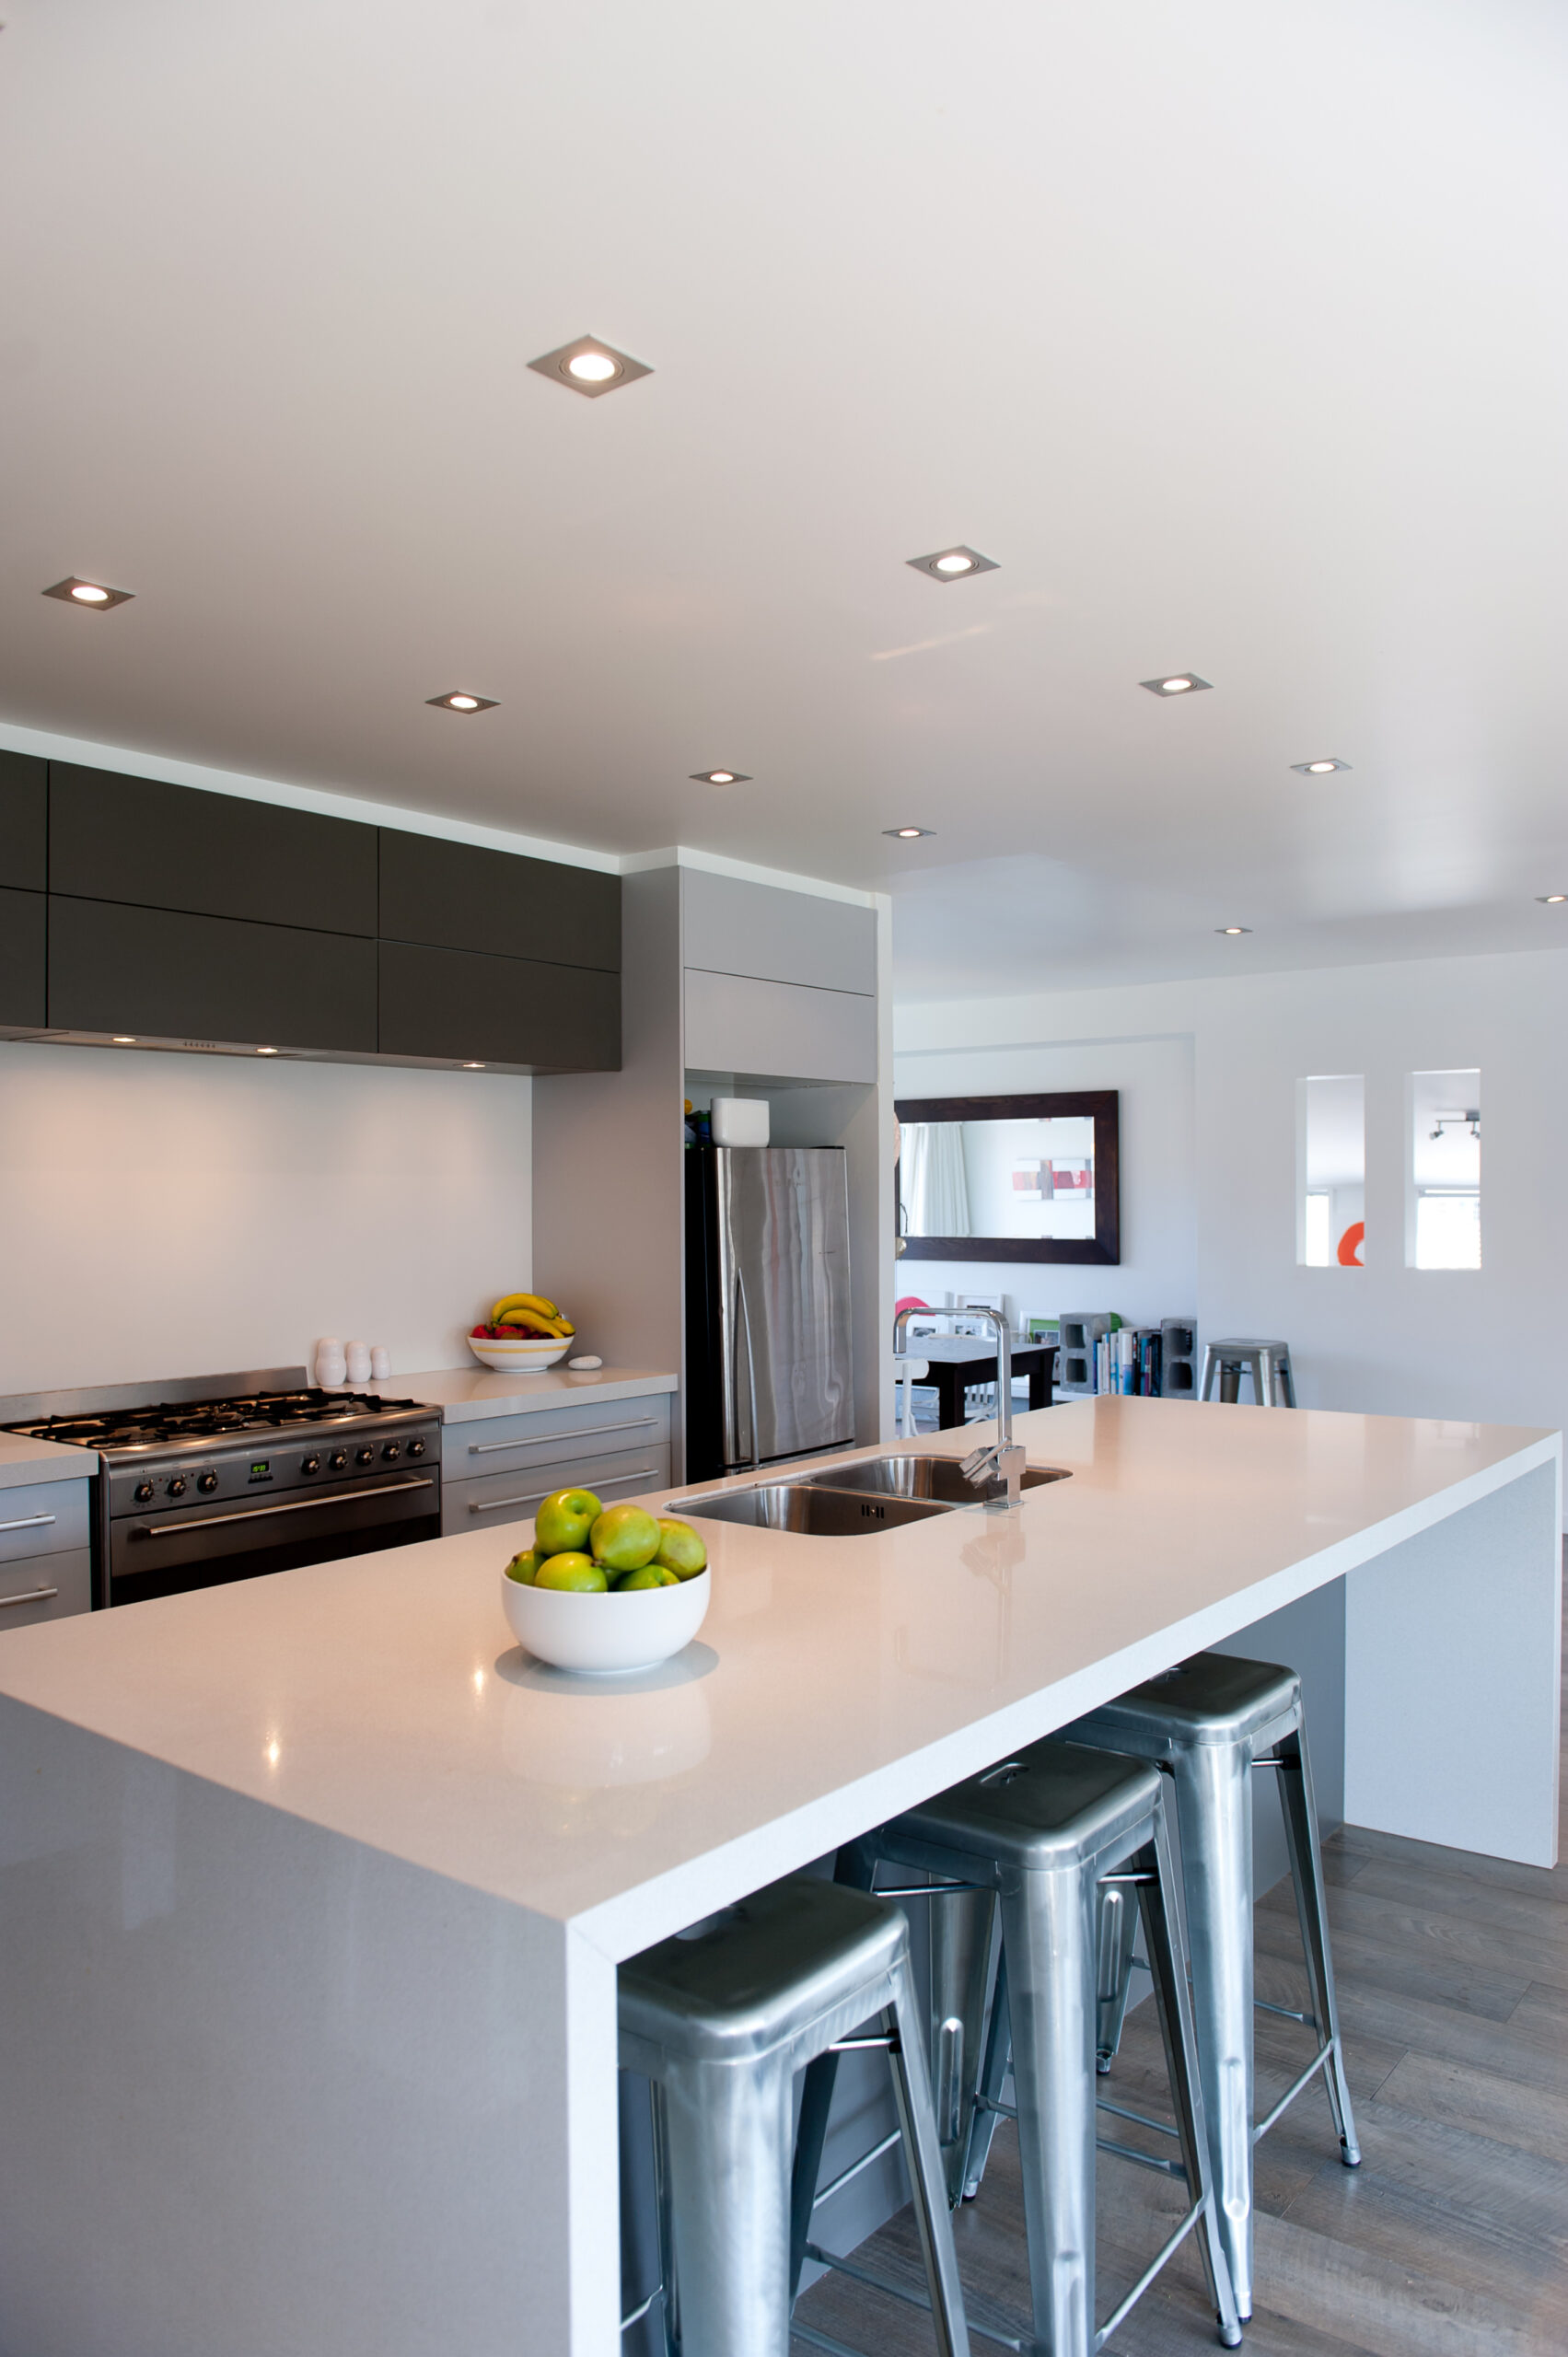
One of the most common lights in homes today are LED or Halogen downlights. Downlights are fitted into a hole that has been cut into your ceiling lining. These lights are either powered with a cable, or have a cable with a 2 pin plug on it that plugs into a loose powerpoint in your roof (known as a plug base).
Because the downlights are exposed in your roof, any heat that they generate will be transferred upwards into the space. Halogen downlights generate a lot of heat.
This is why halogen downlights typically do not allow any insulation to be installed around or on top of them. A Halogen downlight up to 100 watts requires a minimum clearance of 100mm to any building material, including all insulations.
LED downlights do not generate as much heat as Halogens do. However, only certain LED lights allow you to install insulation directly over them. This is why, for any type of downlights, it is important to find and read the manufacturer’s product data sheet. This data sheet will inform you the required clearance, if any is required, that you must keep around your downlights. If your downlight allows insulation directly on top, ensure that the plug base is kept above your insulation. This will make your lights readily accessible by an electrician for any servicing requirements without having to remove your insulation.
The above is also true of exhaust fans. Be sure to check out the manufacturer’s data of required clearances.

What Size Insulation Batts do I need?
The most important factor when choosing the width of a ceiling insulation batt is the size of the gap between the joists in your ceiling.
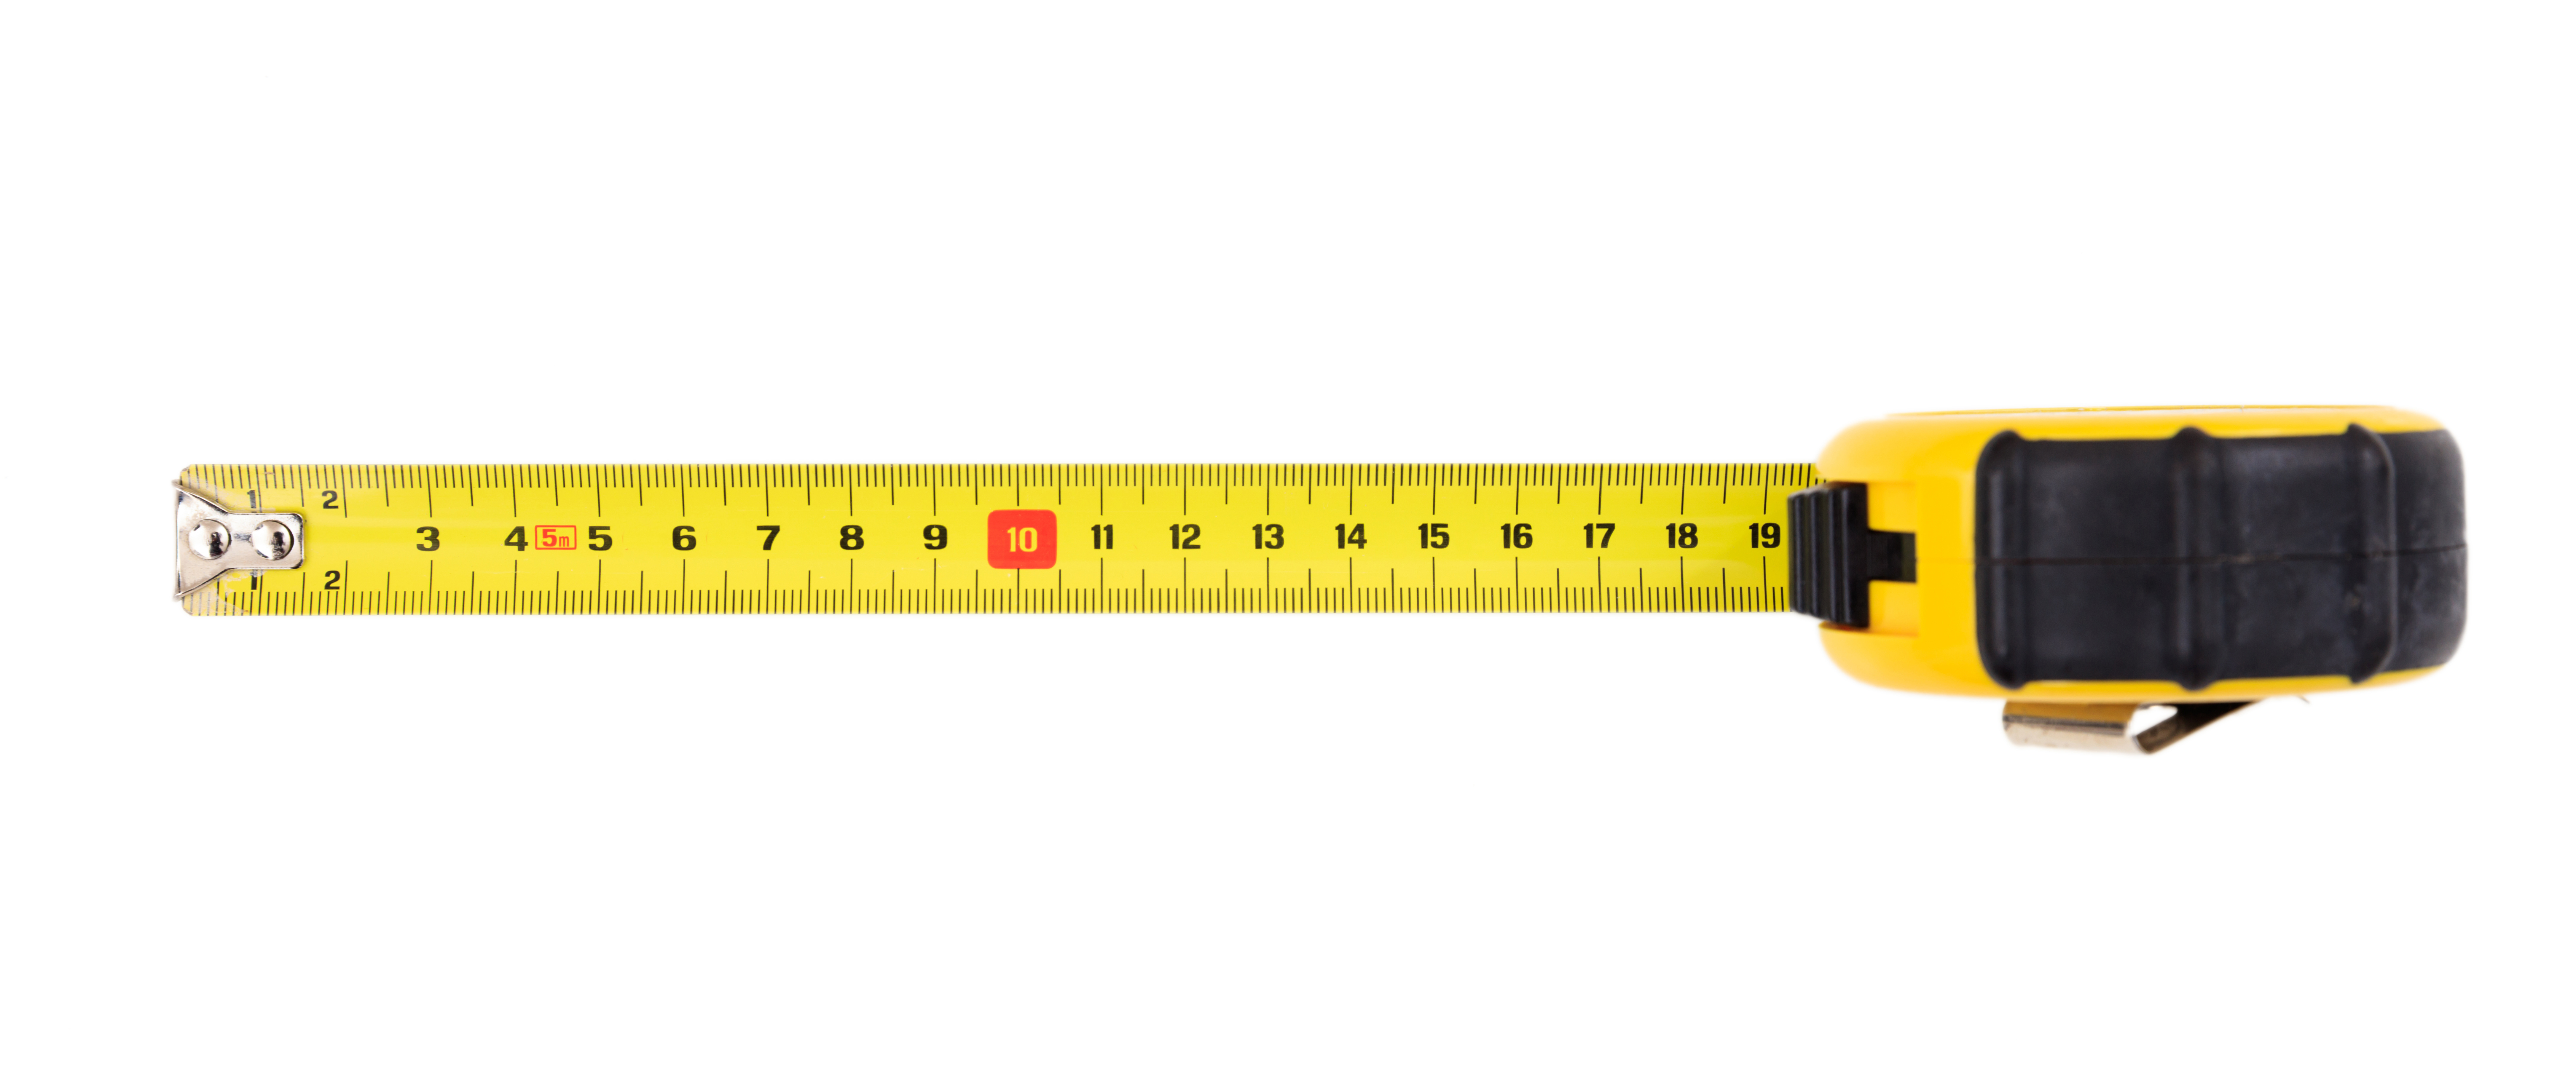
Generally speaking, the wider the gaps between your joists, the wider insulation batt you will need. The most common widths of insulation batt are 430mm and 580mm. These sizes suit the standard joist spacings of 450mm or 600mm from centre of joist to centre of joist. You will need to jump into your ceiling space to measure the timber joists.
If your joist spacing does not match these sizes, don’t worry, you will still be able to use the standard sizes. For joist spacings narrower than the insulation size, you can cut the insulation batts down to the required width. Alternatively you can cut sections from the batt and butt them up. For joist spacings wider than the insulation size, you fill the empty space with a full or cut down batt.
You want to measure the joist spacings in your ceiling and order the width of insulation that is closest to your joist spacing.
Beware when entering your ceiling that you must step on the timber joists. Only the timber joists are strong enough to bear your weight. To make navigating your ceiling space easier, take up some timber boards or planks that you can lay across your joists. These planks or boards serve as a temporary walking platform in your ceiling. This also makes the installation process a breeze; all success, no punching holes in your ceiling.

How to measure a roof space for ceiling insulation batts.
Measuring the square meterage of your ceiling space is as simple as: Length multiplied by width. Ceiling insulation should be installed in your ceiling up to and on top of your external walls.
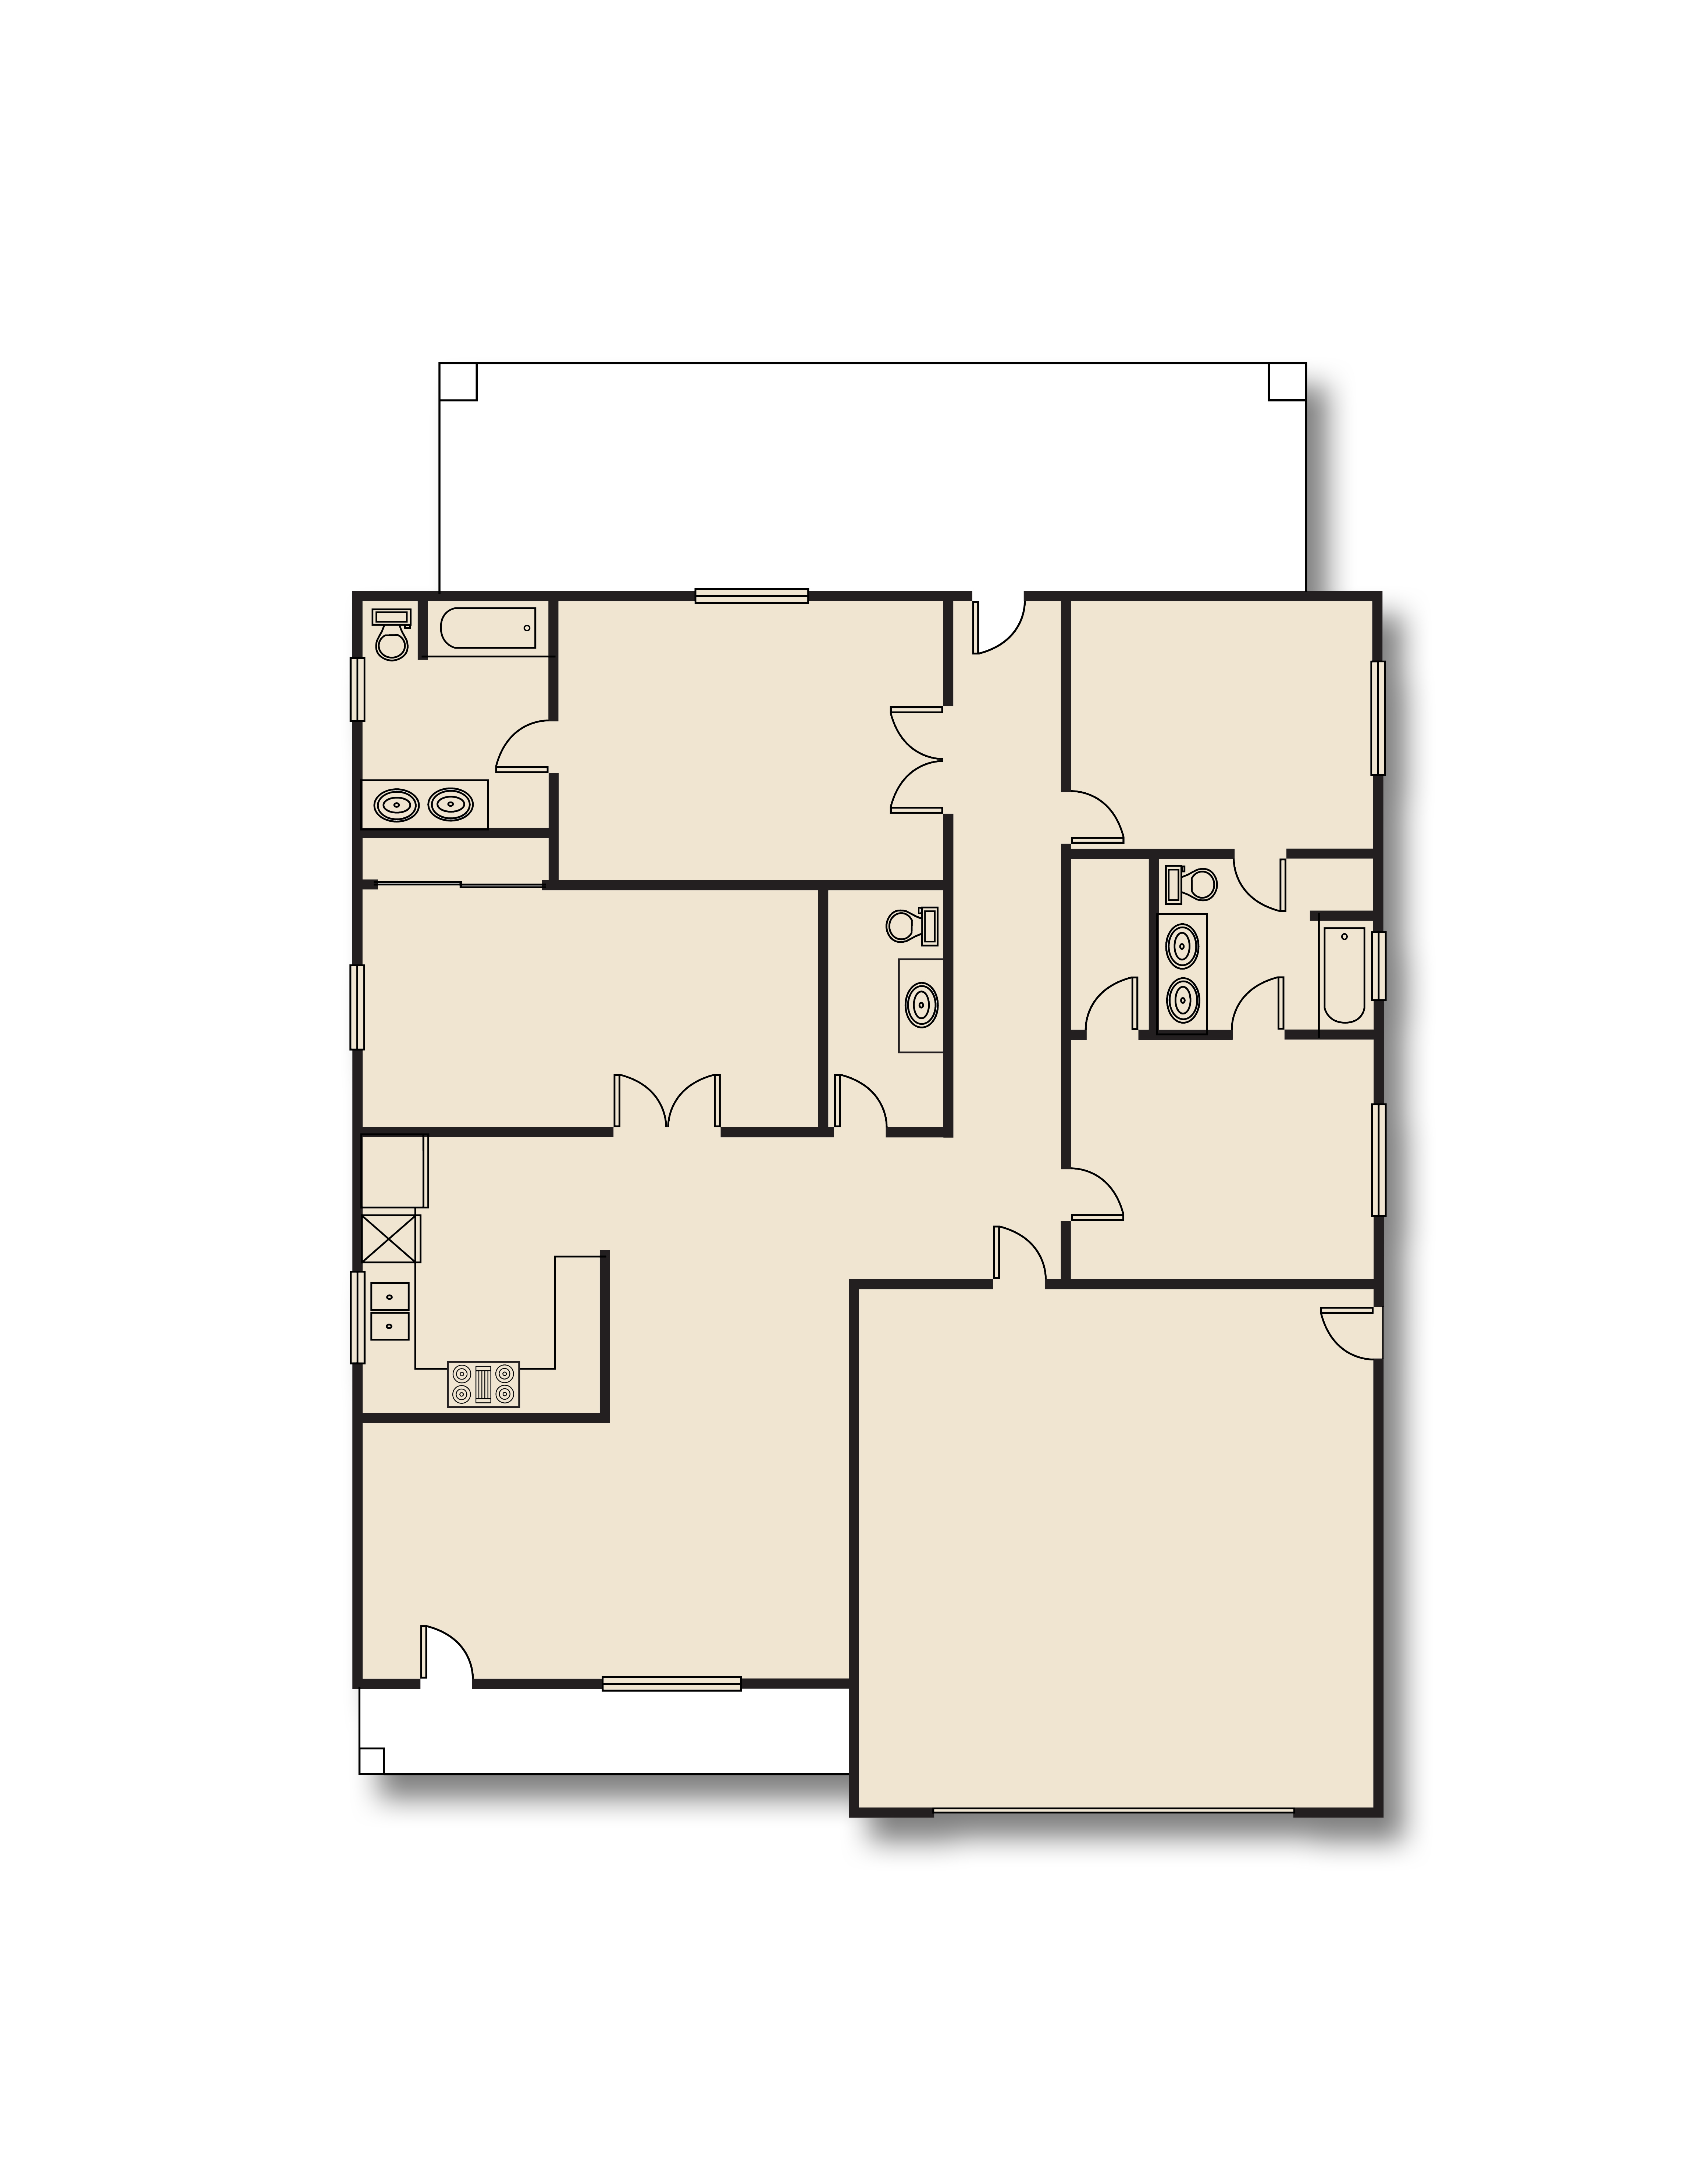
You can measure your home’s walls from the outside to get you the total roof area you need to insulate. If your home is a standard square or rectangular shape, this process is very simple. Measure the front of your home and then the side, then you multiply the front size by the side size.
If your home has areas that stick out or cut into the regular shape, you will need to allow for those areas. The process is the same except you need to break your home down into a series of squares or rectangles. First measure the outside of your home, drawing it as you go until you have a birds eye view map of your home’s walls.
Next draw lines through the map of your walls to break it into smaller rectangles. Multiply the long side by the short to find the area of each rectangle. Now add the areas of each rectangle together and you have the total area to insulate in your home’s ceilings.

I have all the information, so what’s next?
You know what size of insulation you need, you know how much of it you need so now it’s time to buy. Insulation is available in different materials and to know which is best suited to you please refer to this blog about What Types of Ceiling Insulation are there?
Once you decide which material you will use you will be able to place your order. When ordering it is a good idea to get a little extra insulation more than your total area. This extra insulation will be perfect for filling in any gaps that are present in your existing insulation.

A step by step guide to retrofitting ceiling insulation
- Wear your PPE (personal protective equipment). For materials like glass fibre or mineral wool insulation you should wear respiratory protection, goggles, full sleeved clothing with a hood or coveralls and finally wear gloves. For non-allergenic insulations like polyester insulation you won’t have to wear any protective equipment. You may still want to t wear a mask as roofs can be dusty!
- Now your insulation has arrived, you need to prepare your ceiling for it. If there is any existing insulation in place, make sure it has been spread out as evenly as possible. Fill up any gaps in the existing insulation with small sections of the new insulation. This helps eliminate all possible air pockets that may result from adding new insulation. If you are going to use timber boards or planks to walk on, take them up prior to taking up any new insulation.
- Starting in one corner, fit the new insulation on top of the existing, snuggly between the timber joists. Use a long stick to push insulation into hard to reach areas, being careful not to squash the insulation. Ensure that ample clearance space has been left around lights, exhaust fans and any other fixture that requires clearance from building materials. If your downlights have a plug base, make sure the plug bases are on top of the insulation.
- If required, install your second layer of insulation on top of the first. The usual method is to align the second layer with the first so that the joists remain visible. This makes future maintenance easier to undertake. However, a better thermal result can be had by installing the second layer perpendicular to the first layer. If your first layer of insulation is running front to back, the second layer should run left to right.
- If you have installed a second layer perpendicular to the first it’s a good idea to leave the main access route through your roof not done this way. This is to facilitate travel through the roof such that the joists can still be seen. Trying to access a roof where all of the joists have been covered is extremely difficult and prone to slipping off the insulation and through the ceiling plasterboard.
Following the above steps will help you bolster your ceiling insulation with success. The only thing left to do is enjoy the benefits of a home that is:
- Cooler in the summer
- Warmer in the winter.
- Costs you less on utility bills
- Is one step closer to being environmentally sustainable.

People Also Ask:
⇒ Where can I learn more about this from an industry expert?
ecoMaster has been working in the energy efficiency / retrofit arena for over 20 years. During that time we learnt an enormous amount about diagnosing issues, distinctions on various products as well as developing the best installation practices. We have done the research, so you don’t have to. All that information has now been condensed into a series of ecoMasterClasses. Click here to gain access.
⇒ Does Roof Insulation Make a difference?
It may be no surprise to you that in the winter time up to 45% of the warm air in your home exits through your ceiling. Installing roof insulation in your ceiling will significantly reduce this heat loss. Roof insulation will also make a great deal of difference in the Summer keeping the cool air inside where you want it. This means that you won’t need to run the heater/cooler as much, reducing your energy bills month to month.
⇒ Which Roof insulation is the best?
Polyester insulation is the best for Australian homes. This is because polyester has many features that improve the lifetime of the insulation that other insulations do not.
Polyesters features are:
- It’s Hydrophobic. It is not adversely affected by moisture and won’t hold onto moisture where I can do damage to your home.
- It is rodent and insect resistant. Because it is heat bonded, rodents are unable to readily tear it apart to use in their nests. Also, there is no glue that may attract insects.
- It is Non-irritant, non-toxic, non-allergenic, and non-respirable. So it is not itchy with no glass fibres in your skin, eyes, or lungs.
- It is Non-Flammable and will not catch fire at extreme heats.
Add on top of these features that Polyester insulation is made up of 40 to 85 percent recycled materials, Polyester insulation is not only healthy for your family and home, but it is friendly to the environment.
What’s Next?
We hope this article has helped you learn how to use simple ways to save on your utility bill. This in turn will help you on your energy and thermal efficiency retrofit journey to make your home more comfortable all year round, and reduce your costs and carbon emissions.
Next, explore How To Retrofit Wall Insulation In An Existing Home.
If you found this article helpful, then please subscribe to our YouTube Channel. You’ll find many more helpful “How To” videos there. You can also follow us on Facebook and Instagram to stay in the loop. For more great information on how to make your home more energy and thermally efficient subscribe NOW to ecoBites. ecoBites are free bite size chunks of the latest energy efficiency information making it quick and easy for you to absorb.

Install Insulation in your roof
and enjoy the benefits
Check ecoMaster’s range of Polyester Ceiling Insulation.


Recent Comments