
What Is a Cathedral Ceiling
A cathedral ceiling is a tall, vaulted ceiling that rises steeply on two sloping sides to meet in the middle. In a home, they are typically found in the living room and occasionally in master bedrooms.
They are less common in brand new homes because of the higher cost and complexity in constructing them. As such, many cathedral ceilings are not insulated as they were built before the legislated push for energy efficiency during the construction phase.
Why should you insulate a cathedral ceiling
Installing insulation in a cathedral ceiling can be a daunting task, but it is an important one to make your home more energy efficient and comfortable. Installing insulation in an attic space is estimated to save ??. There are no statistics on energy savings specific to a cathedral ceiling, but it would be approximately the same.
A cathedral ceiling is usually exposed to the outdoors on all sides, with no attic space above it. This makes it more difficult to insulate than a conventional attic space with a sloped roof.
How is a cathedral ceiling constructed
The almost universal method of cathedral ceiling construction is this:
- Support a ridge beam at each end, usually between brown feature brick walls
- Place rafters between the external walls and the ridge beam
- Rafter depth is usually 190 or 240mm
- Line over the rafters with 15mm thick pine lining boards
- Lay sarking flat over the lining boards
- Fit 38mm thick hardwood battens over the sarking and lay the roofing over the battens.
That’s it. The sarking is only a vapour barrier and has no insulation value. The 15mm lining boards have an R-value of R0.5, which is probably generous.
It’s little wonder that people living with cathedral roofs are left wondering “What the hell, whoever thought this was OK?”
Aesthetics – Exposed rafters
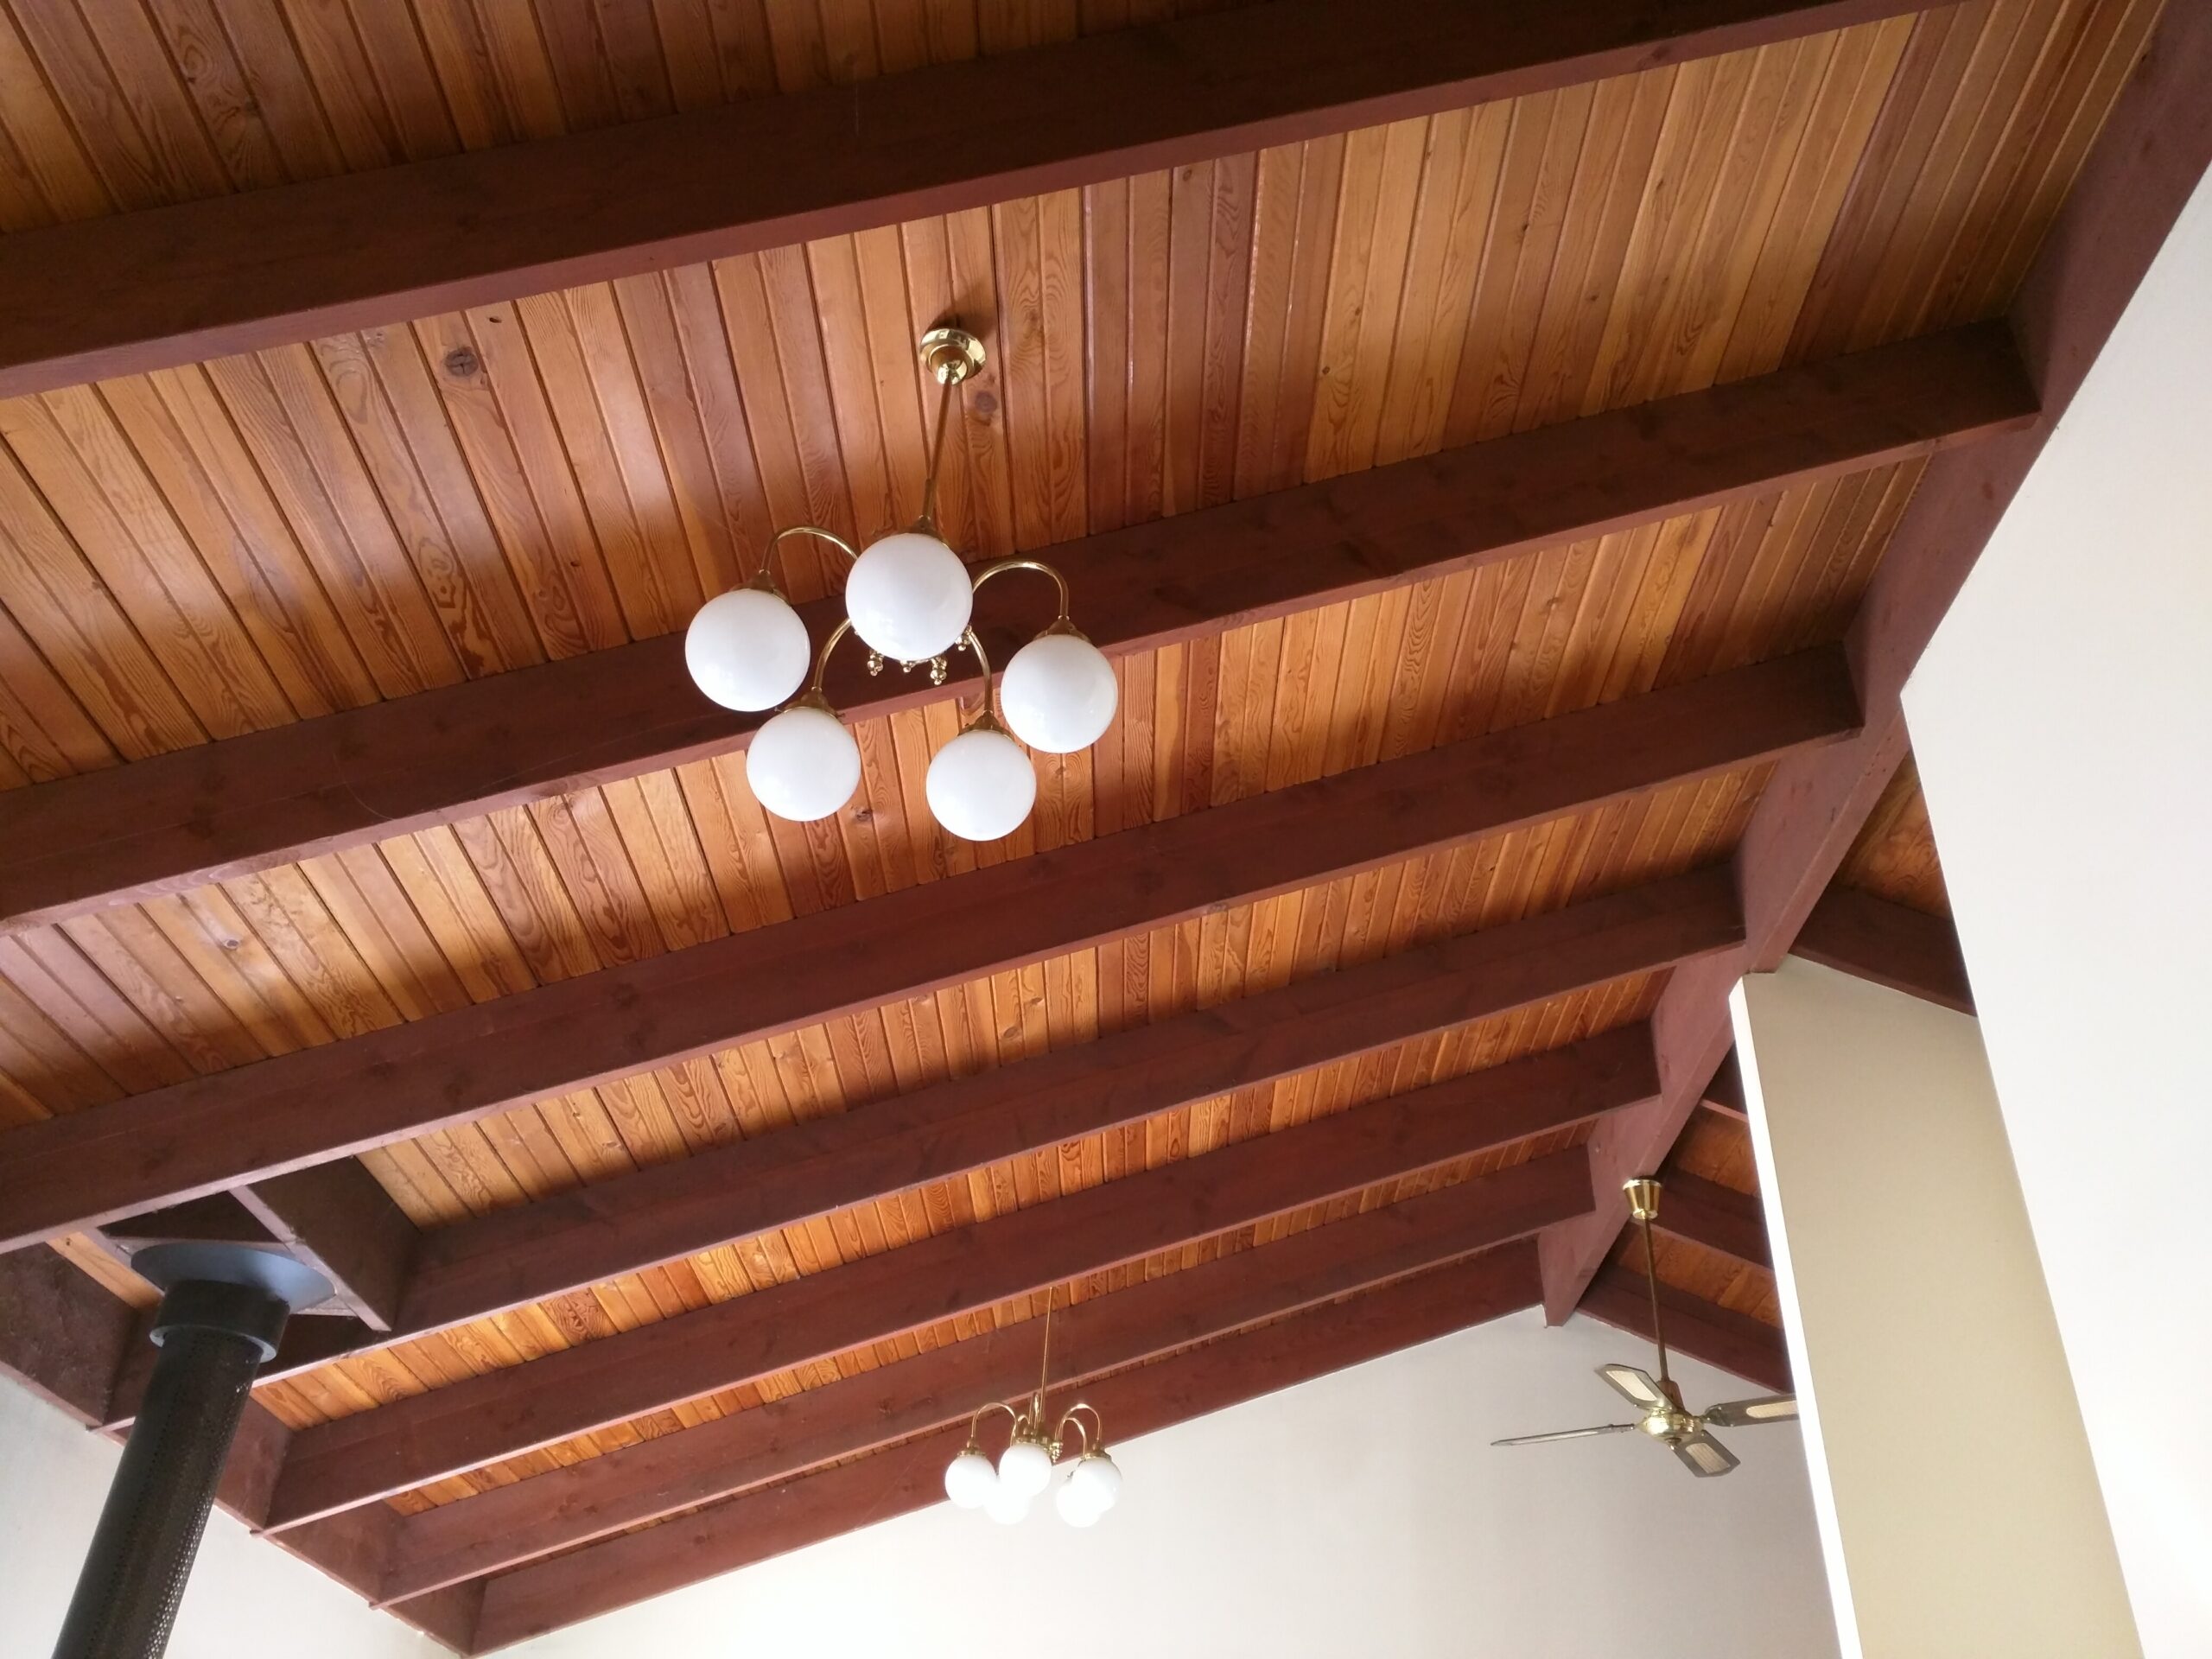
Before getting into the nitty gritty it’s useful to first confront the elephant in the room. Rafters! They should be seen right? After all, that’s an integral part of a cathedral ceiling, right? Well, yes and no.
Part of the charm of your home was the exposed rafters but in some cathedral ceilings, the rafters are not exposed. Sometimes they are hidden behind a plasterboard or timber lining. No rafters, is that OK or is it not OK?
Insulation Options
So, what are the options for insulating this kind of cathedral ceiling? There are two options:
- Roof side insulation (fit insulation from outside)
- Ceiling side insulation (fit insulation from inside)
Let’s look at both of these options and the issues involved:
1. ROOF SIDE INSULATION
The first thing to realise is that there is no prospect of adding sufficient insulation on the roof side between the roof battens. There is only a maximum depth of 38mm to work with. If the roof is clad with tiles then that becomes even less. This is not enough for any form of bulk insulation.
This space is just enough to add one layer of reflective insulation. Of course, this would necessitate lifting the roofing and there are difficulties with that which I will get to shortly. But let’s begin with what may be achieved by lifting the roof.
What might you put on the roof side and what difference might it make? Here are some possibilities:
- Fit 15mm spacers onto the lining boards along each side of each batten.
- Fit either Aircell Glareshield or 10mm Foilboard onto the spacers. Staple the Glareshield or glue the Foilboard.
- Tape the joins with purpose-made aluminium jointing tape. Rub it on! If you don’t, it will fall off. It has a high tack adhesive but if it’s not pressure-activated it will let go when you’re not looking.
- The Glareshield, being in roll format, will likely have less wastage but more joins. Board material like Foilboard tends to have more offcuts that can’t be used.
- The reflective insulation needs to be fitted carefully between the battens to ensure a complete cover comprising an air gap above and below. That’s how reflective insulation works best.
- The result depends on the quality of the installation.
- The probable resulting R-Value will be less than R2.0 downwards and less than R1.0 upwards. (Note that a thermal calculation by a suitably qualified engineer will need to be done for the specific implementation to get a more accurate insulation value. This would also take into account the specific roof cladding.)
Lifting roof cladding is a task that requires careful planning and always has difficulties associated with it. Clearly whoever is working on a roof needs to be fitted with all the appropriate safety equipment and have the appropriate certificates – Working at Heights etc. Safety is critically important when working at heights.
What are just some of the difficulties you may encounter lifting the roof cladding:
- On-roof infrastructures – solar panels, skylights, flues, antennas etc all make lifting the roof more challenging.
- Roof pitch. It’s surprising how quickly the roof pitch gets crazy. .. Here is a summary:
- 23 degrees – Easy and comfortable to get around.
- 25 degrees – Need to take more care. Any moisture on a metal roof will have you moving with extreme care.
- 30 degrees – Wow! That is scary and once on the roof the question then becomes how to get off the roof safely. Do not be on there with any sign of moisture. If it rains you will be in danger.
- 45 degrees – No!
- Weather! Too hot. Chance of rain. Too windy. The weather has to be just right to lift a roof. If it’s windy on the ground it is almost certainly worse on the roof. If it’s hot on the ground it’s a sauna on the roof. If there is a chance of rain there’s a chance of slipping off the roof.
- Sheet metal! Your roof might be screwed down with corrugated iron or it may be klip-lok. In either case, there will be large pieces of sharp sheet metal. These can be like parachutes on a roof and it takes great skill and care to keep them safe.
- It’s mandatory to have a roofing plumber undertake this task. And then there is scheduling the roofing plumber along with the weather and whoever is going to actually do the insulation. This can take many false starts with weeks in between due to the availability of the players. You may need to pay for false starts.
- If your roof is tiled then you can lift a section at a time. The trick here is to not let the tiling creep as you go. Typically you start at one end and work to the opposite end to find that the last row of tiles no longer fit in the remaining space.
- If your roof is tiled then be sure to have replacement tiles on hand. Breakages are a real factor when dealing with tiles.
One last thing about roof-side insulation. It is sometimes suggested to “lift” the roof so as to make enough room for a proper level of insulation on the roof side. While technically possible, in reality, this is really difficult and expensive to achieve. Lifting a roof means each facet of the roof is now too short. Also, it is not normally viable to only lift the cathedral roof, it is necessary to lift the whole roof including hips and valley if any. That’s a replacement roof and a lot of roof carpentry in between the old and new roofs. In almost all cases this is not a viable option.
2. CEILING SIDE INSULATION
So this leaves us with working on the inside of the cathedral ceiling. Working within the cathedral ceiling rafter space gives much more scope for modern R-values of insulation to be installed. There are basically two methods:
- The Really Expensive Method so you can still see some of those rafters.
- The Less Expensive Method where the rafters disappear.
Let’s discuss each approach in turn.
KEEPING THE RAFTERS (The Really Expensive Method)
In this method, insulation is installed and the new lining is installed between the rafters. This allows some of the rafter depth to remain visible. Here are some ways to achieve this:
- The most straightforward way is by installing insulated plasterboard. One such product is Kingspan Kooltherm K17. The 90mm thick version has an R-value of R3.7. In conjunction with your lining boards, you will achieve around R4 in total. The space between rafters is typically around 900mm so that means that there will be considerable wastage when using the 2400 x 1200 sheets. Also, there will be a need to trim around the edge of the rafters so which will lose a little more of the rafter depth. Tri quad can be purchased in 12 x 12mm so provided that the insulated plasterboard was carefully cut and fitted the total depth will be 102mm. If your rafters are 190mm deep you will still see about 90mm of rafter. If you have 240mm deep rafters then you will still see 140mm.
- If Kooltherm is beyond your budget, you can make your own approximation using multiple layers of reflective insulation and air spaces. You could use 12m thick battens and layers of Kingspan Glareshield. 4 such layers would be about 80mm thick. Or you could make a sandwich board of Foilboard.
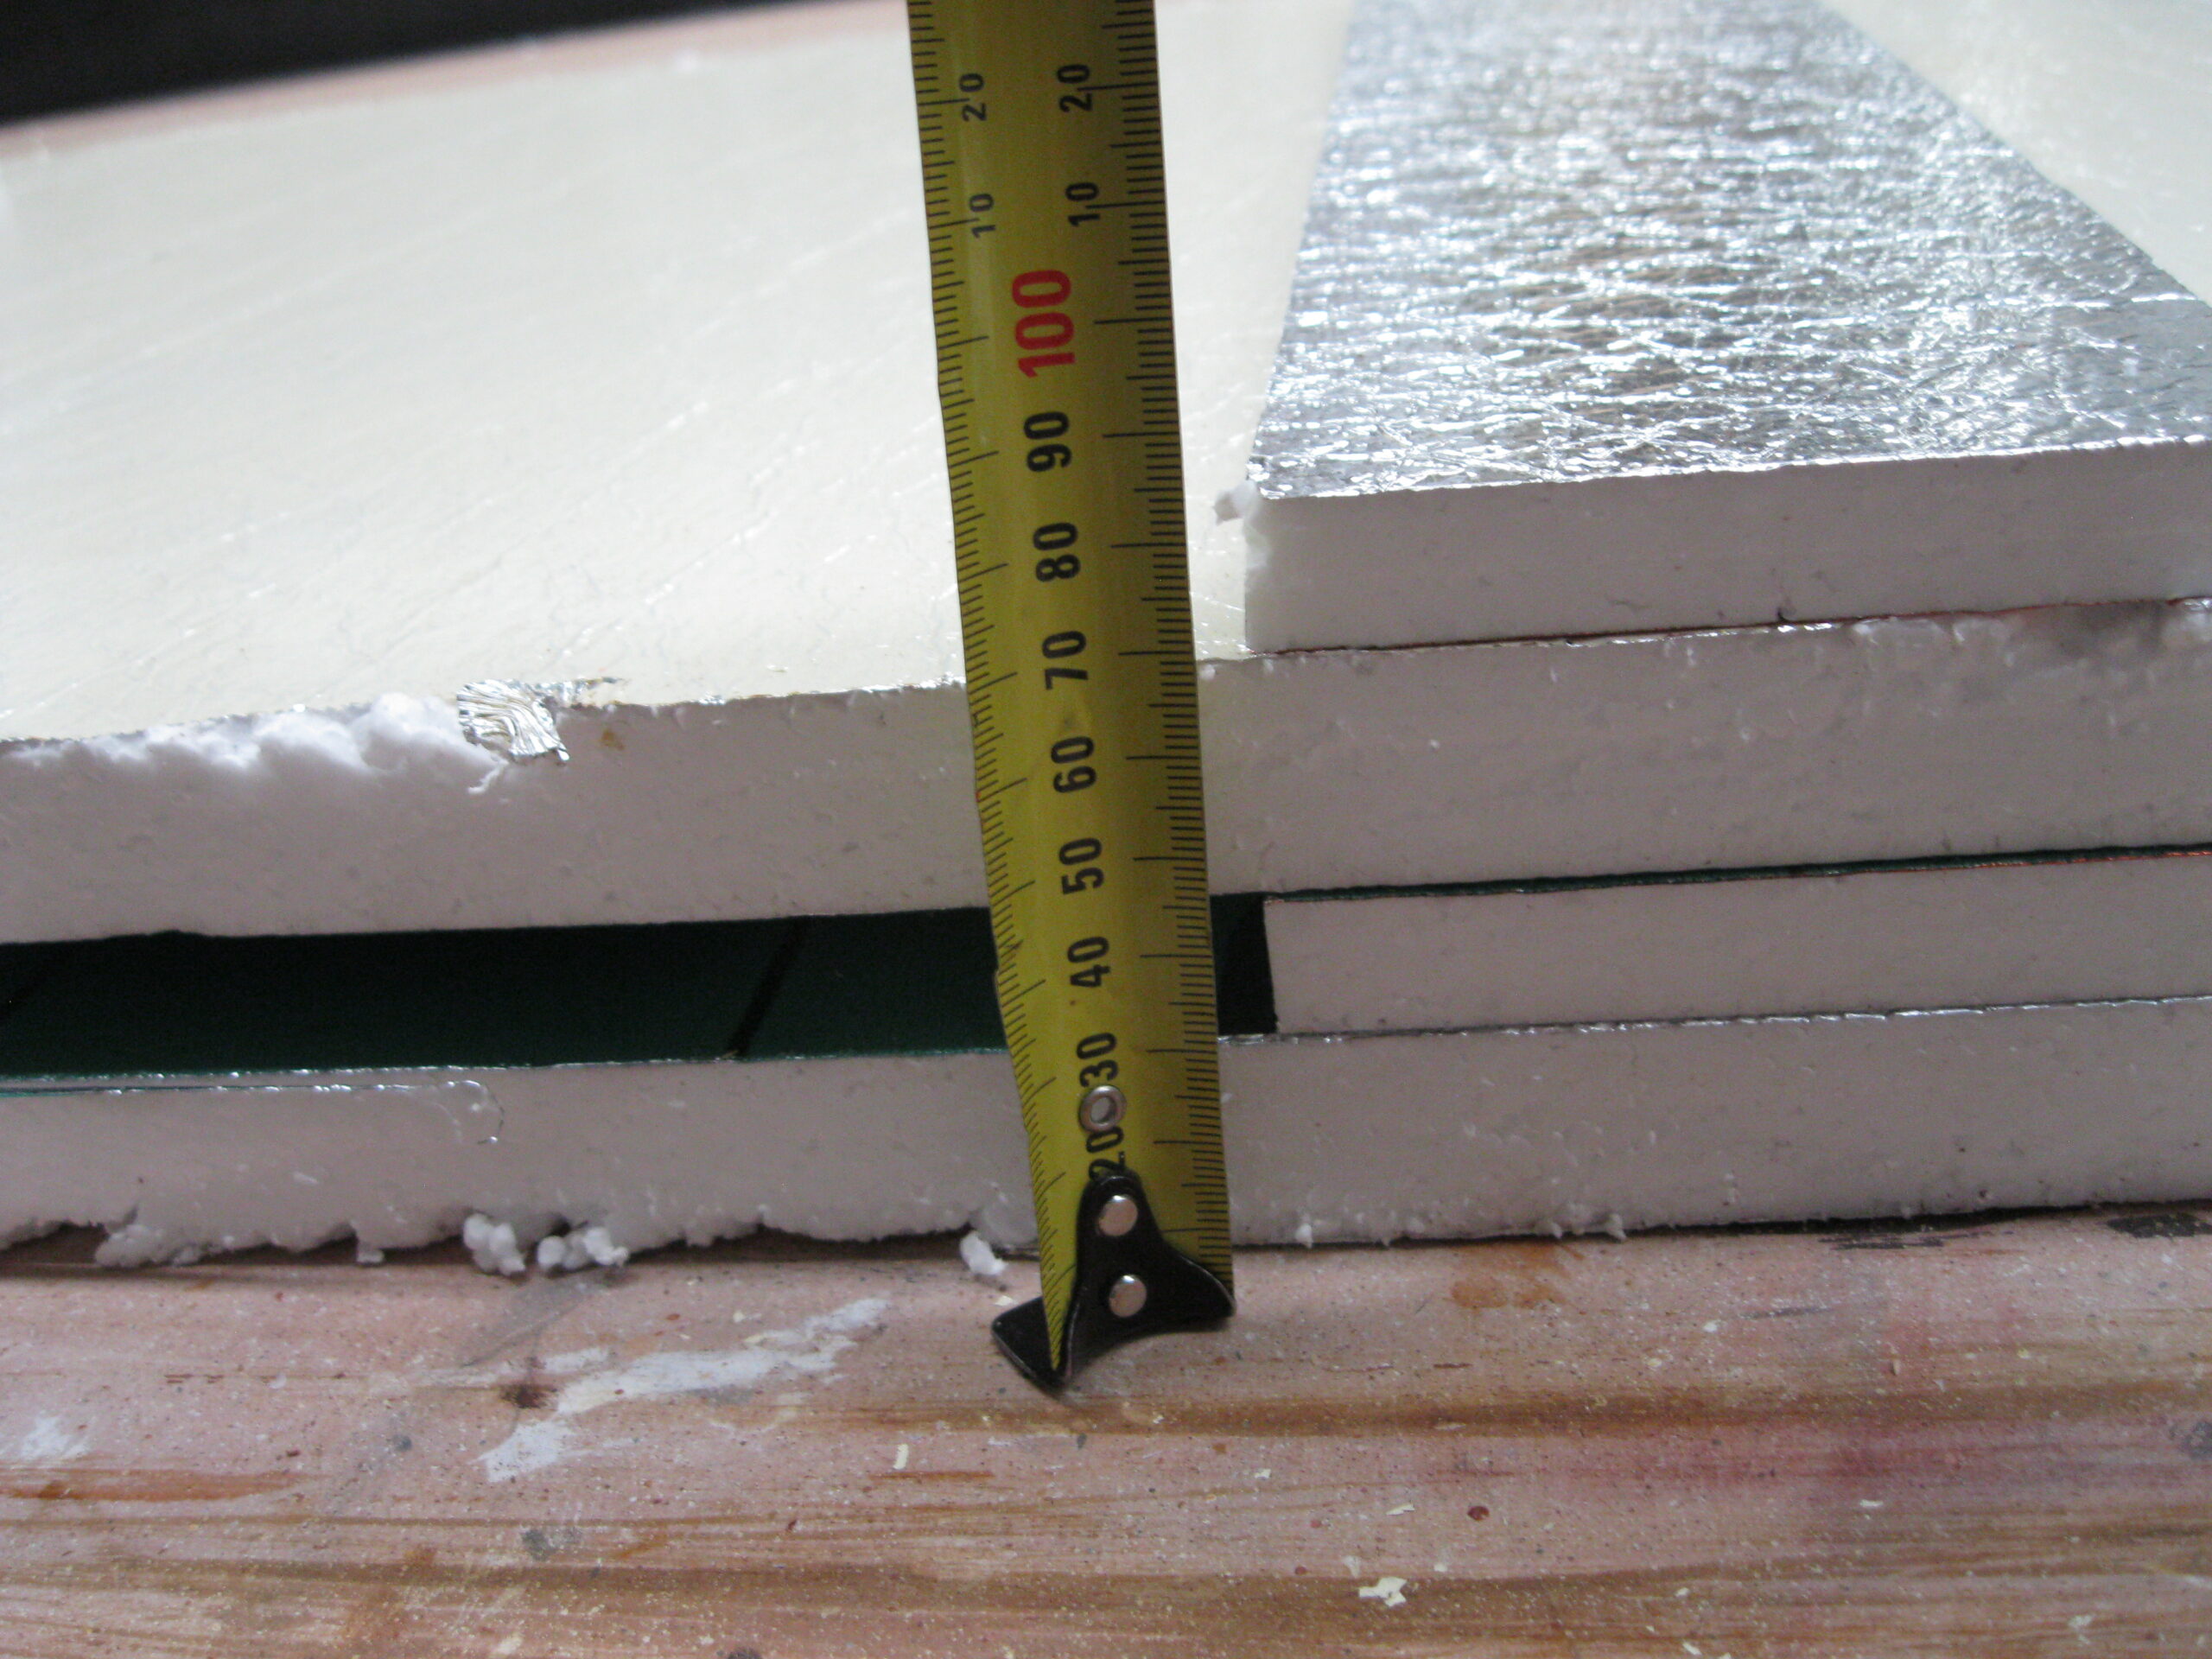
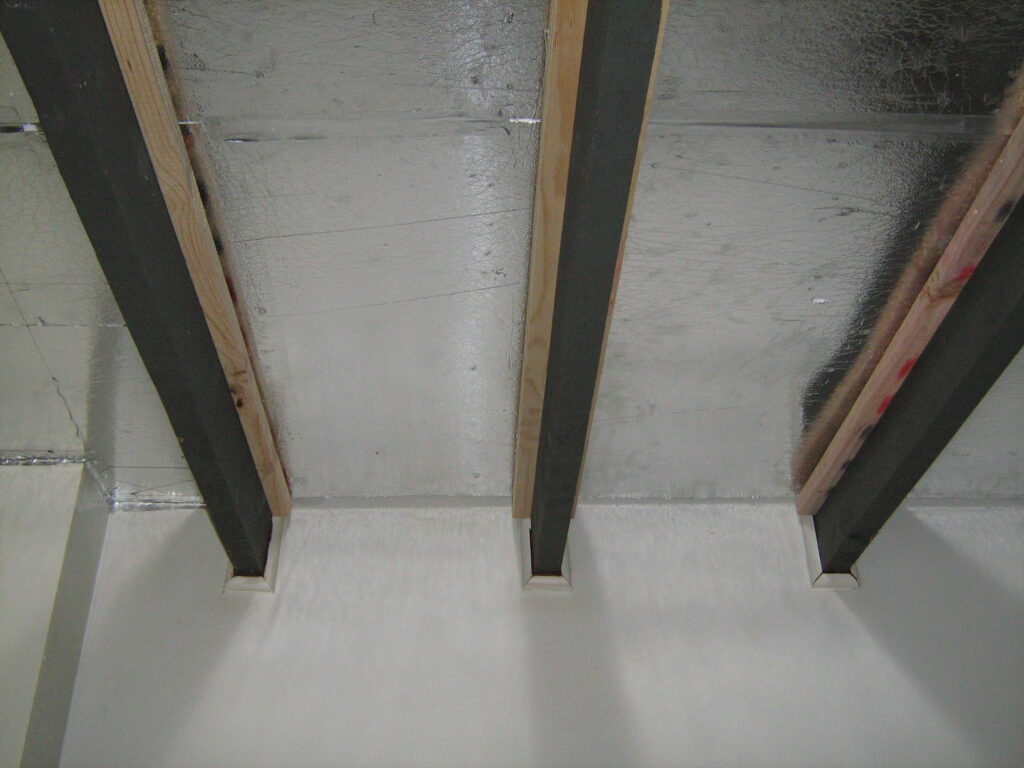
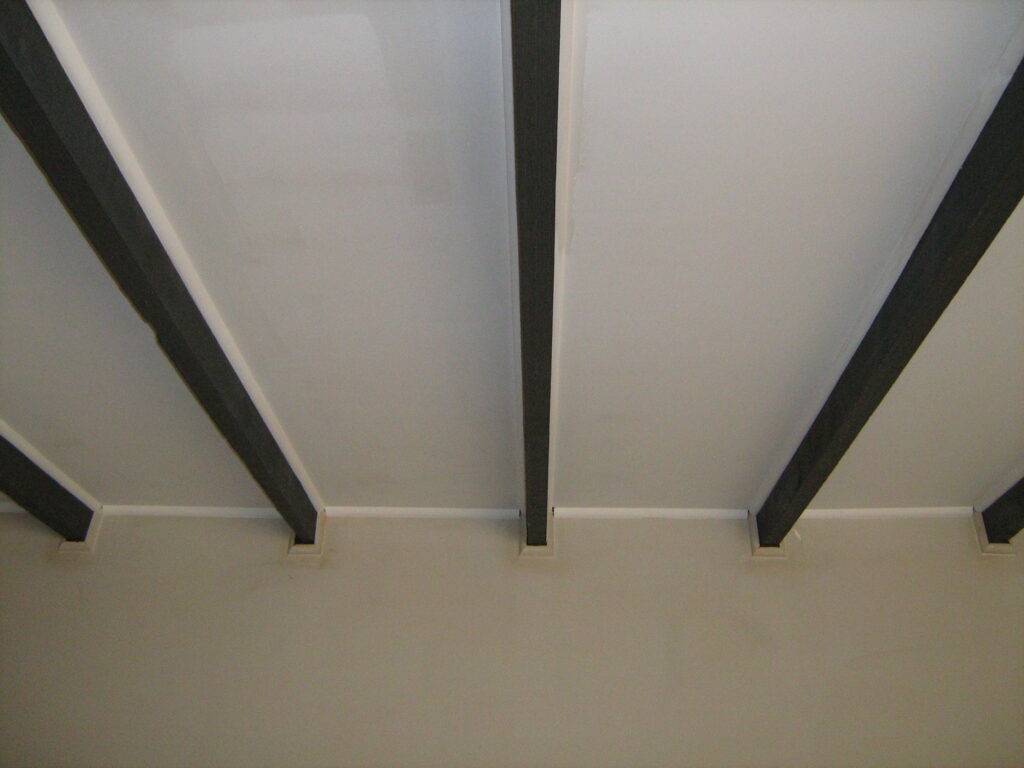
- 15mm board with 15mm air spaces. Two layers would be 60mm thick. These options would then need a more substantial structure to enable lining between the rafters.
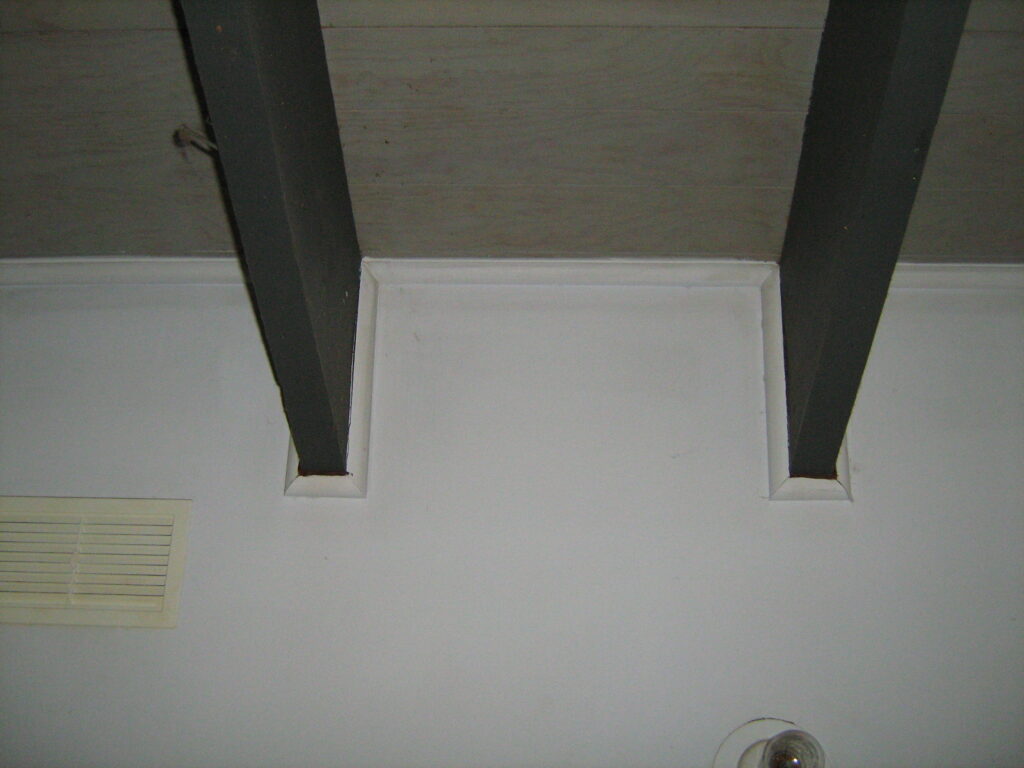
- That could be as simple as a 35 x 35 batten down each side and infilled with new lining boards. The resulting R-value would need to be calculated as is always the case with reflective insulation.
GOODBYE RAFTERS (The Less Expensive Method)
This method is an easier and cheaper way to insulate a cathedral ceiling. Essentially you can fill up the space between the rafters with bulk insulation and then apply a new lining under the rafters. The under-rafter lining is typically either plasterboard or new lining boards.
Using lining boards can keep a sense of that timber look that you previously had with the exposed rafters and lining boards. Lining boards also lend themselves more to DIY as individual boards are much easier to handle than large sheets of plasterboard are. Plasterboard is almost certainly cheaper than lining boards.
Bulk insulation is much cheaper than all of the specialised insulations mentioned above. It’s also easier to handle, particularly if you are using polyester batts or rolls, and have a known R-value, no calculations are required.
Here are some options for insulating with bulk insulation between the rafters.
190mm Deep Rafters:
- Use a single layer of R3.5 roof insulation batts. This will fill up the full depth of the rafter and provide about R5.0 including the existing lining boards.
- Use 2 layers of R2.5 wall insulation. This will fill up the rafter space and provide around R5.5 including the existing lining boards.
- In both these cases you will need to apply packing strapping to the underside of the rafters to hold up the material while the new under rafter lining is applied. The batts may be able to be laid side by side to make up the space between the rafters or you may need to lay some lengthways and infill with torn or cut batts.
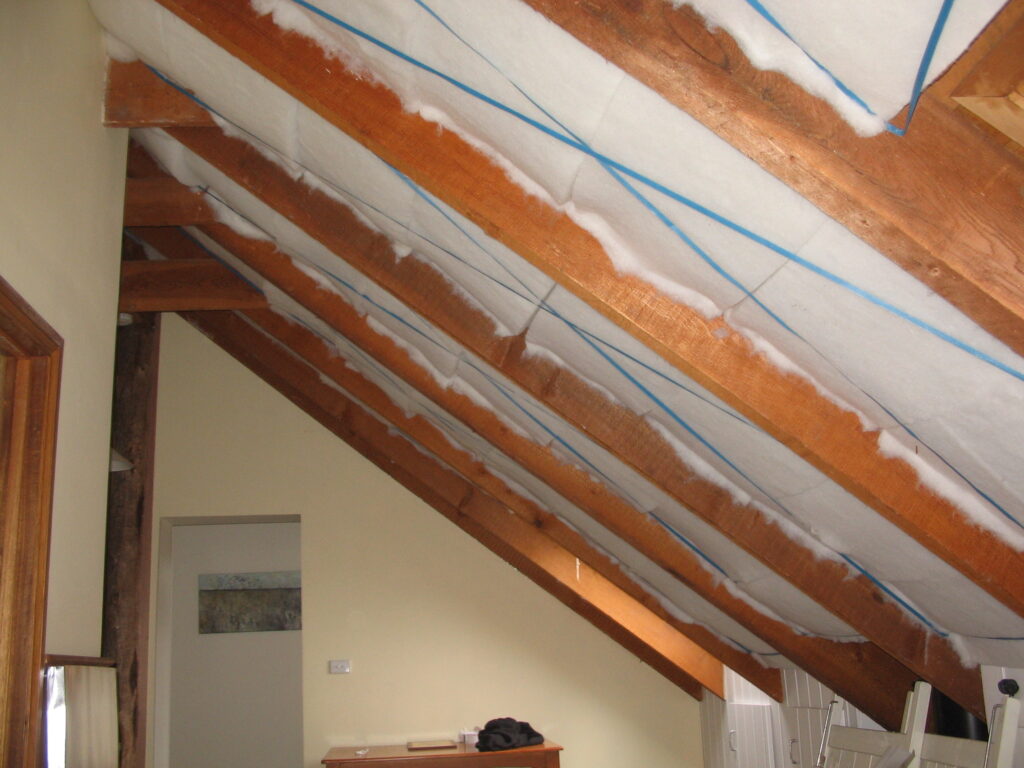
240mm Deep Rafters:
- A method that works well with this and has minimal waste is to use 2 layers of polyester R2.5 underfloor insulation. This allows you to tear the length you need off the roll to go precisely across from rafter to rafter and it can be stapled up. The second layer is applied the same. This is cheaper than using wall batts and you don’t need to use strapping because the insulation can be stapled up. Total R Value will be about R5.5.
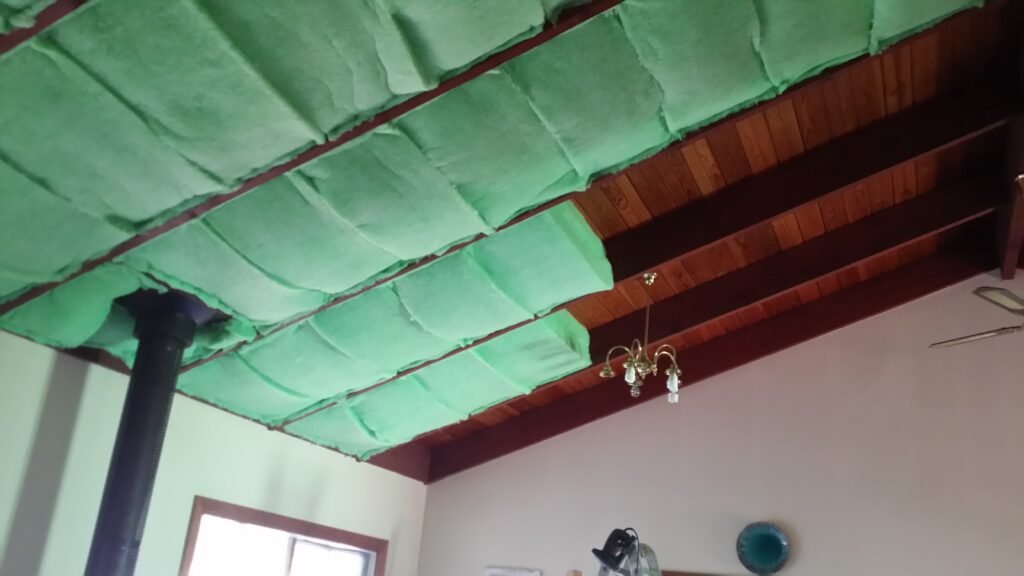
- You can use any ceiling insulation batts you want but you will need to strap them up and most likely tear or cut infill pieces. Total R Value will be the batt value plus R0.5.
Finally, here are some practicalities about working on your cathedral ceiling from inside:
- Cathedral ceilings tend to be quite high. They may be 2.2m at the sides but maybe 4 or 5 metres at the ridge. This can make it challenging to access the ceiling. Some kind of scaffold will be required.
- Planks between ladders or painters’ trestles may be OK for the lower reaches down the sides but these are not safe for the higher parts.
- You can hire a demountable mobile scaffold and this may be a safe way to reach the higher parts down the centre.
- It will be far easier if you can remove all of the furniture to allow full access to the cathedral ceiling.
- If you are doing your own plaster boarding, you will need to fit battens or furin channels to the underside of the rafters (and ensure they are flat because the bottom of your rafters may not be. Be sure to hire a sheet lifter to make it easier to fit the plasterboard. This is perhaps a job best left to professionals.
If you have been struggling with what and how options you have to insulate your cathedral ceiling I hope this has at least shown you what the possibilities are, what the costs and pitfalls are and what the likely results will be.
With careful preparation and the right tools, you can successfully insulate a cathedral ceiling and keep your home comfortable year-round.
People Also Ask:
⇒ Apart from insulating a cathedral ceiling, how else can I make that space more comfortable?
Great question! Ceiling fans can help to circulate air and provide additional cooling in a room with a cathedral ceiling. This is especially important for rooms that may be poorly insulated or have limited ventilation. Installing a ceiling fan with a cathedral ceiling also adds visual interest and style to the space.
⇒ What type of insulation should be used to insulate a cathedral ceiling?
Due to the logistical difficulties in insulating a cathedral ceiling, you would be wanting to install insulation that has longevity, will not break down, does not contain glues or binders that hold the fibres together and will not be damaged by water. Those factors lead to the conclusion that polyester insulation would be the best choice for insulating cathedral ceilings.
⇒ Is it possible to DIY insulate a cathedral ceiling?
Yes – but only if you insulate from the ceiling side and not the roof side. Insulating externally requires qualified and completely fitted-out tradespeople to be operating on your roof. If you are working from inside, that is not a requirement. All care needs to be taken when working at heights with appropriate PPE and equipment.
What’s Next?
We hope this article has helped you learn how to use simple ways to save on your utility bill. This in turn will help you on your energy and thermal efficiency retrofit journey to make your home more comfortable all year round, and reduce your costs and carbon emissions.
Next, explore why is underfloor so important.
If you found this article helpful, then please subscribe to our YouTube Channel. You’ll find many more helpful “How To” videos there. You can also follow us on Facebook and Instagram to stay in the loop.For more great information on how to make your home more energy and thermally efficient subscribe NOW to ecoBites. ecoBites are free bite size chunks of the latest energy efficiency information making it quick and easy for you to absorb.

Make your Cathedral Ceiling
thermally efficient now
Your home will love it!


Recent Comments